Manual Transmission Removal
NOTE: Use fender covers to avoid damaging painted surfaces.
| 1. | Write down the frequencies for the radio's preset buttons. Disconnect the negative (-) cable first, then the positive (+) cable from the battery. Remove the battery.
|
| 4. | Carefully remove the slave cylinder so as not to bend the clutch line. Do not operate the clutch pedal once the slave cylinder has been removed.
|
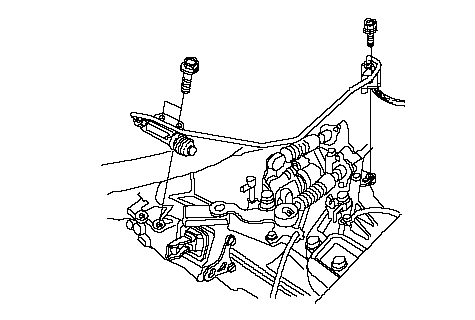
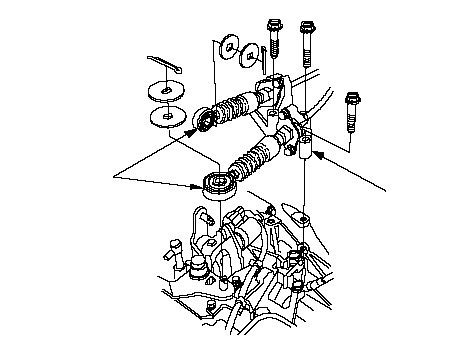
| 5. | Remove the cable bracket (A), then disconnect the cables (B) from the top of the transmission housing.
Carefully remove both cables and the bracket together so as not to bend the cables.
 AB AB |
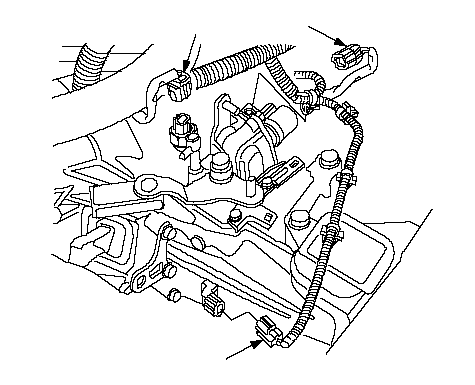
| 6. | Disconnect the countershaft speed sensor connector (A), back-up light switch connector (B), and reverse lockout solenoid connector (C).
 ABC ABC |
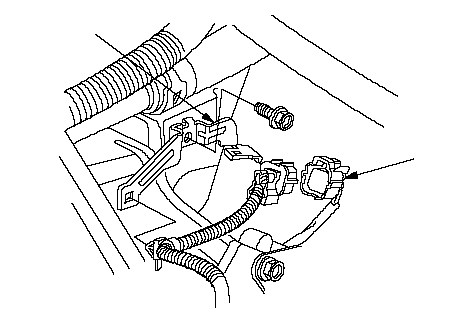
| 7. | Disconnect the secondary heated oxygen sensor (secondary HO2S) connector (A), then remove the bracket (B).
 AB AB |
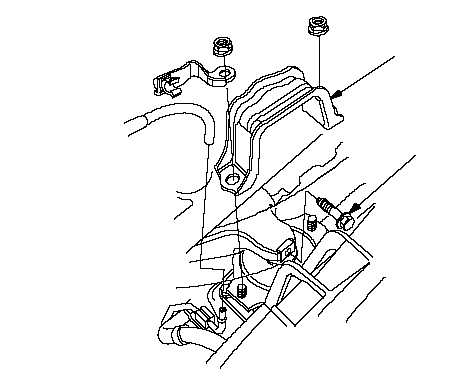
| 8. | Remove the front engine mount stop (A) and front engine mount mounting bolt (B).
 AB AB |
| 9. | Remove the rear engine mount stop.
|
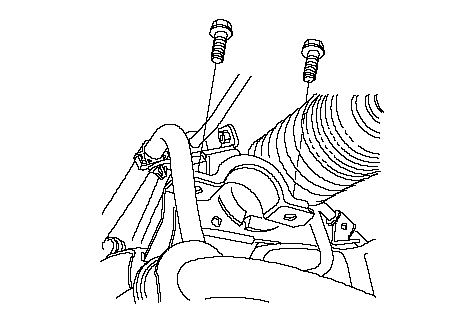
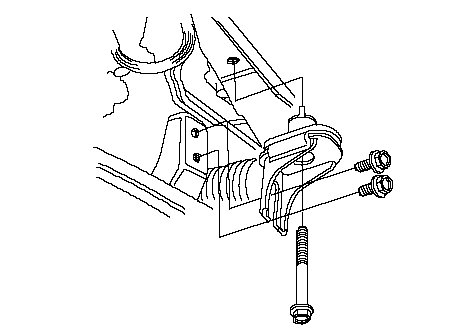
| 10. | Remove the steering gearbox mounting bolts.
|
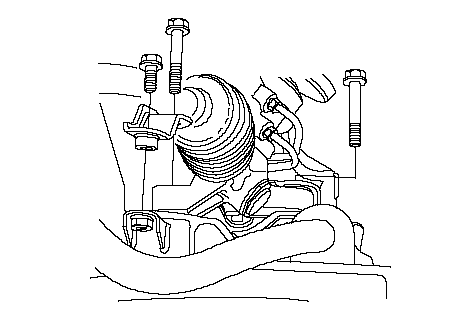
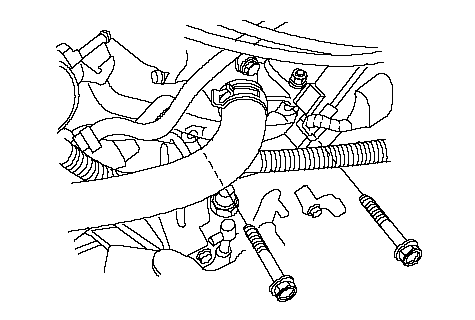
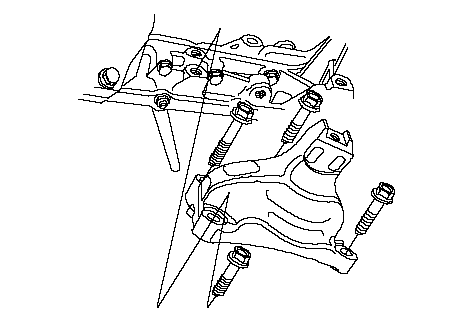
| 11. | Remove the upper transmission mounting bolts.
|
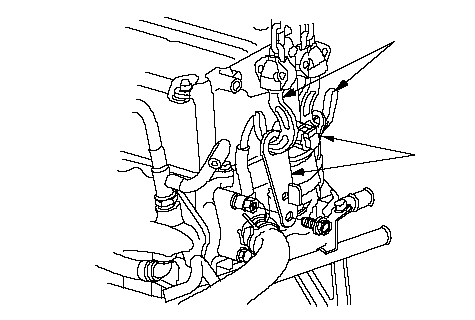
| 12. | Attach the engine hanger (A) to the long nut on the EGR passege.
NOTE: Use the bolt of 16 mm in length. (In 16 mm or more, the bolt reaches the bottom. In 16 mm or less, the bolt breaks by the load of engine.)
 BA BA |
| 13. | Attach the chain hoist (B) to the engine.
NOTE: Don't hang engine direct putting a chain or rope on EGR passage.
|
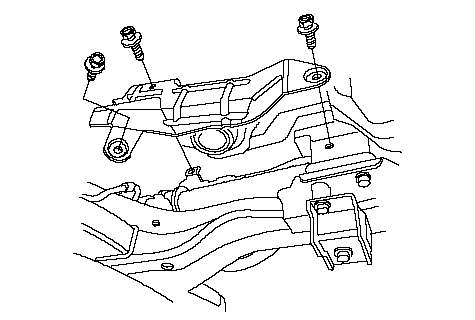
| 14. | Remove the transmission mount bracket (A) and ground cable (B).
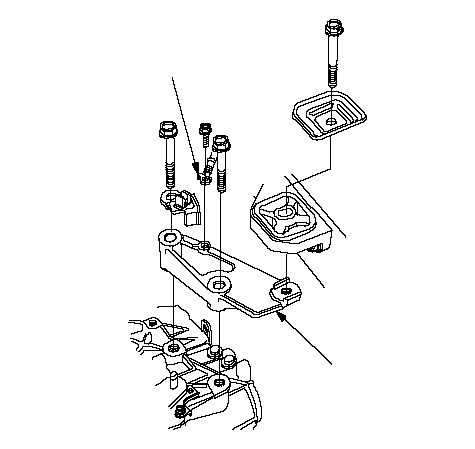 AB AB |
| 15. | Raise the vehicle, and make sure it is securely supported.
|
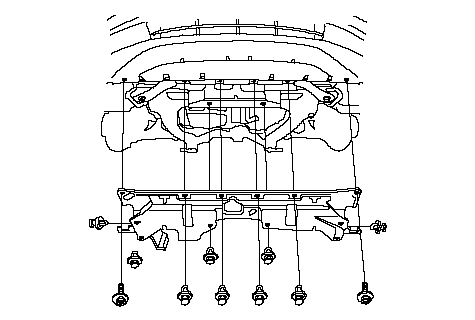
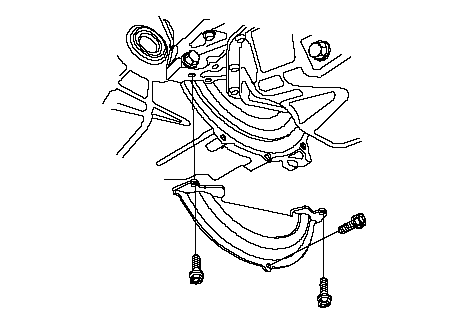
| 17. | Remove the splash shield.
|
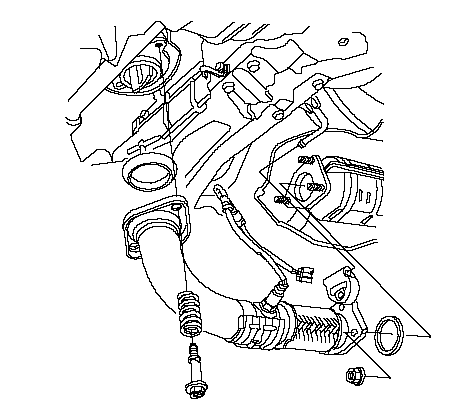
| 18. | Remove the exhaust pipe A.
|
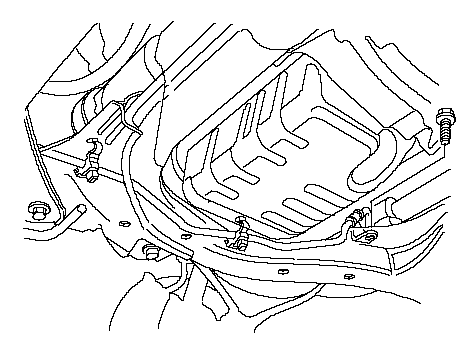
| 21. | Remove the heat shield.
|
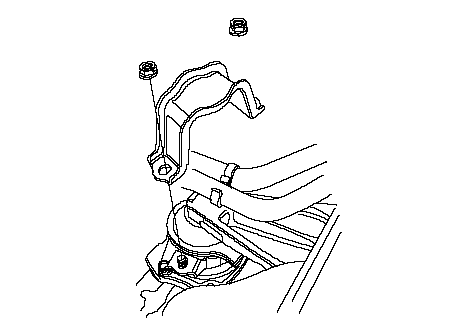
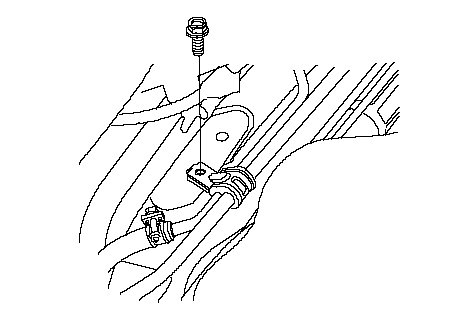
| 22. | Remove the steering line bracket.
|
| 24. | Remove the lower rear engine mount mounting bolts.
|
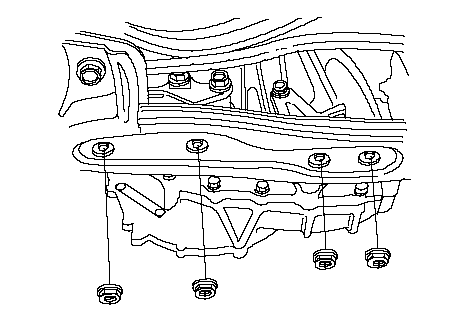
| 25. | Remove the lower transmission mount mounting nuts.
|
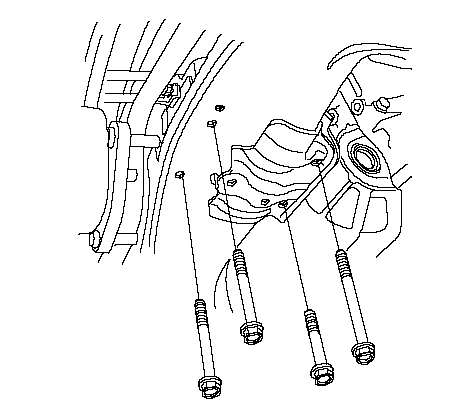
| 26. | Remove the middle subframe mounting bolts.
|
| 27. | Make the appropriate reference lines (A) at both ends of the subframe (B) that line up with the edge (C) of the stiffeners (D).
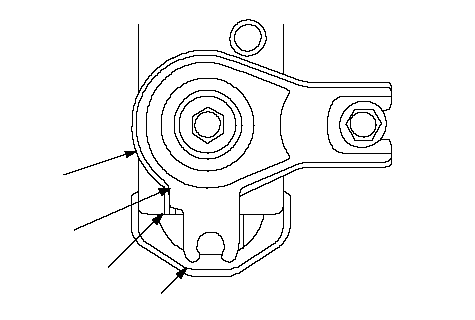 BADC BADC |
| 28. | Support the subframe with a 4 x 4 x 40 in. piece of wood and a jack.
|
| 29. | Remove the front suspension subframe stays (A) and front suspension subframe (B).
NOTE: Suspend the steering gearbox with an appropriate size wire.
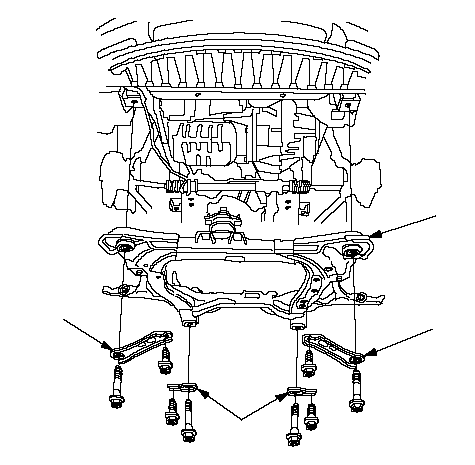 ABAA ABAA |
| 30. | Remove the upper front engine mount bracket.
|
| 31. | Remove the shift cable bracket (A), upper rear engine mount mounting bolt (B) and rear engine mount (C).
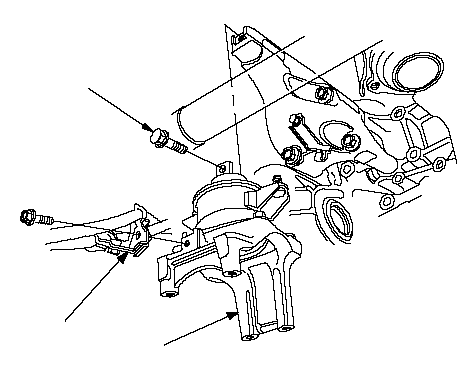 ABC ABC |
| 32. | Remove the upper rear engine mount bracket.
|
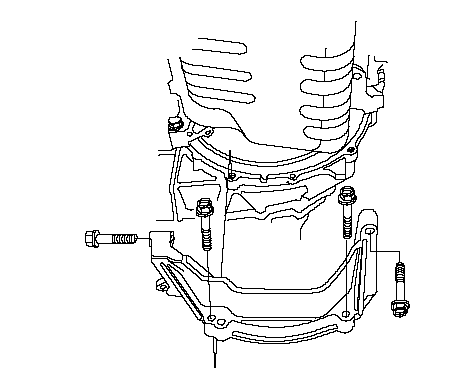
| 33. | Remove the clutch cover.
5-speed model: 6-speed model: |
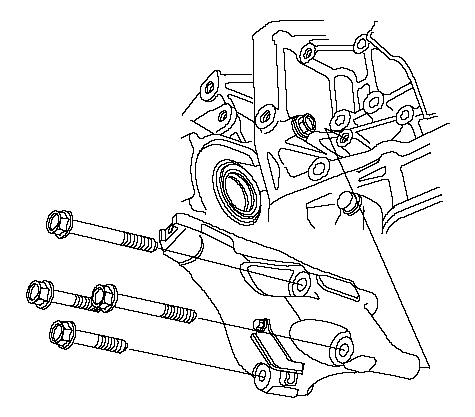
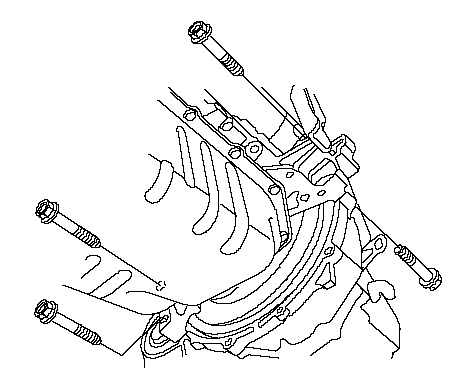
| 34. | Place the transmission jack under the transmission, and remove the lower transmission mounting bolts.
|
| 35. | Pull the transmission away from the engine until the transmission mainshaft clears the clutch pressure plate, then lower the transmission on the transmission jack.
|
| 36. | Remove the front lower transmission mount (A) and rear lower transmission mount (B).
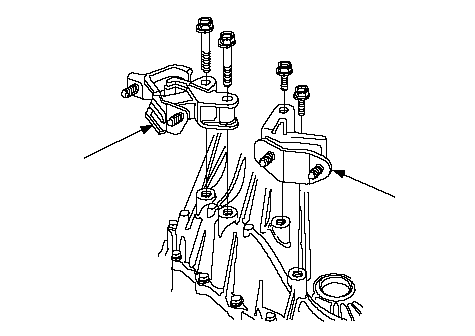 BA BA |
| 37. | Remove the boot (A), release fork (B), and release bearing (C) from the transmission (D).
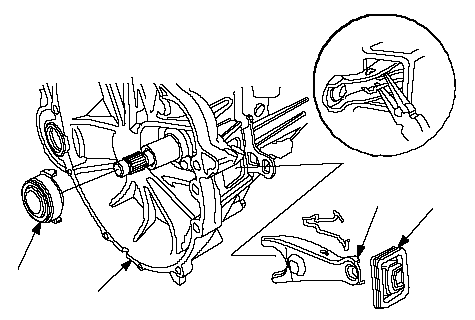 BADC BADC |