AIR SWITCHING VALVE (for Unleaded Gasoline Specification Vehicle) > INSTALLATION |
| 1. INSTALL AIR SWITCHING VALVE ASSEMBLY |
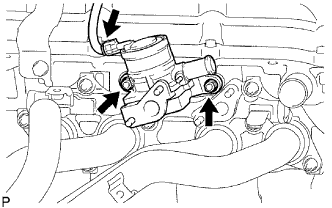 |
Install the valve with 2 new nuts.
Connect the connector.
| 2. INSTALL INTAKE PIPE INSULATOR |
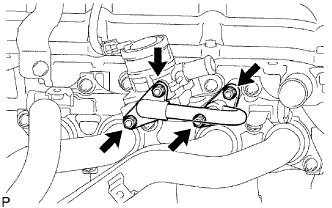 |
Install 2 new gaskets and the pipe with 4 new nuts.
Check that the nuts are tightened to the torque specification.
| 3. INSTALL NO. 1 EXHAUST MANIFOLD HEAT INSULATOR |
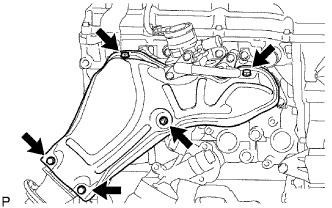 |
Install the heat insulator with the 5 bolts.
| 4. CONNECT NO. 4 AIR HOSE |
 |
Connect the No. 4 hose to the switching valve.
Secure the hose with the clamp.
| 5. INSTALL AIR CLEANER ASSEMBLY |
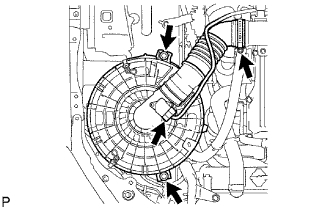 |
Connect the air cleaner hose.
Install the air cleaner with the 2 bolts.
Tighten the hose clamp.
Connect the MAF meter connector.
| 6. CONNECT CABLE TO NEGATIVE BATTERY TERMINAL |
| 7. PERFORM INITIALIZATION |
Perform initialization (Click here).
