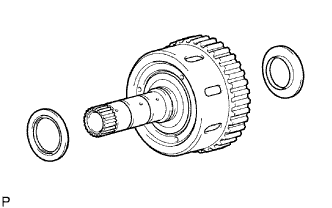
CLUTCH DRUM AND INPUT SHAFT ASSEMBLY > DISASSEMBLY |
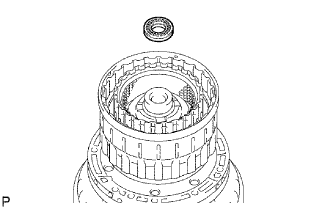
| 1. FIX CLUTCH DRUM AND INPUT SHAFT ASSEMBLY |
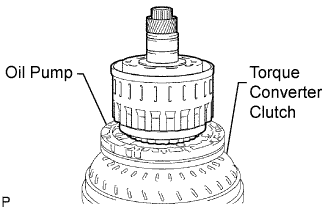 |
Place the oil pump onto the torque converter clutch, and then place the clutch drum and input shaft assembly onto the oil pump.
| 2. REMOVE REVERSE CLUTCH HUB SUB-ASSEMBLY |
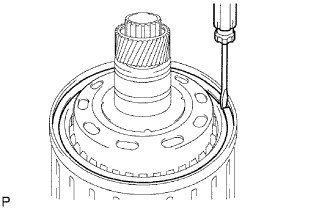 |
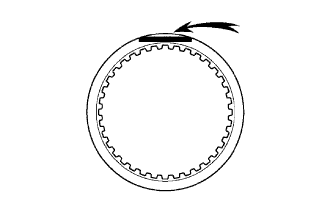
Using a screwdriver, remove the snap ring from the clutch drum and input shaft assembly.
 |
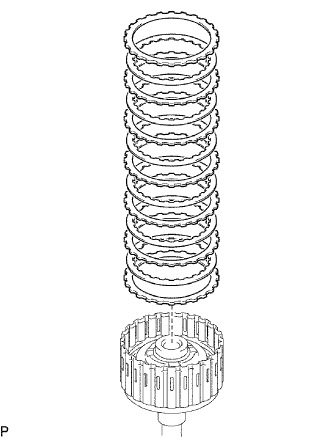
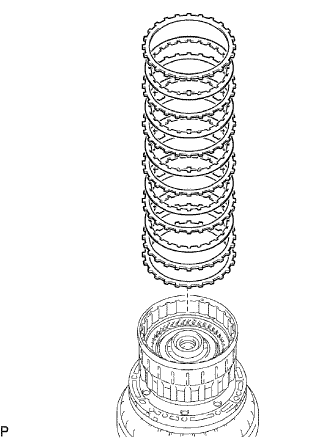
Remove the reverse clutch hub sub-assembly, reverse clutch reaction sleeve, clutch cushion, plate reverse clutch flange, 5 reverse clutch discs and 4 clutch plates from the clutch drum assembly.
| 3. REMOVE REVERSE CLUTCH REACTION SLEEVE |
 |
Remove the reverse clutch reaction sleeve from the reverse clutch hub sub-assembly.
| 4. REMOVE REAR CLUTCH DISC |
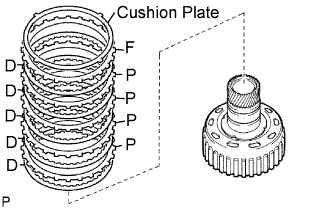 |
Remove the clutch cushion plate, reverse clutch flange, 4 plates and 5 discs from the reverse clutch hub.
| 5. INSPECT REAR CLUTCH DISC |
 |
Replace all discs if one of the following problems is present: 1) a disc, plate or flange is worn or burnt, 2) the lining of a disc is peeled off or discolored, or 3) grooves or printed numbers have even a little bit of damage.
| 6. INSPECT REVERSE CLUTCH HUB SUB-ASSEMBLY |
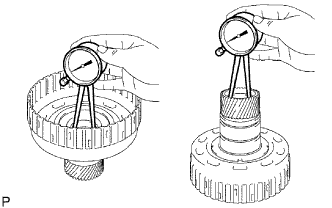 |
Using a dial indicator, measure the inside diameter of the reverse clutch hub bushing.
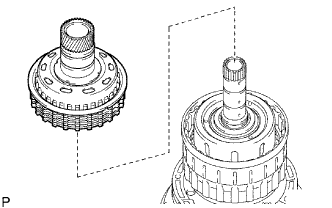
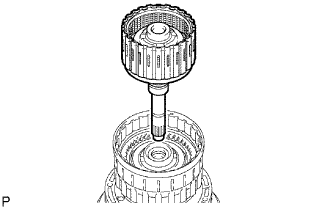
| 7. REMOVE FORWARD CLUTCH HUB SUB-ASSEMBLY |
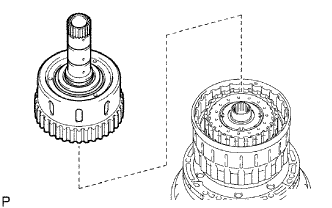 |
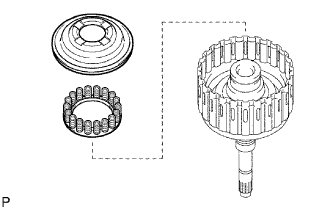
Remove the forward clutch hub sub-assembly from the clutch drum assembly.
 |
Remove the 2 thrust needle roller bearings from the forward clutch hub sub-assembly.
| 8. INSPECT FORWARD CLUTCH HUB SUB-ASSEMBLY |
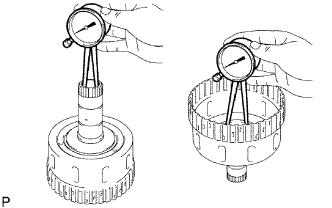 |
Using a dial indicator, measure the inside diameter of the forward clutch hub bushing.
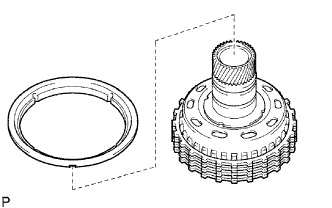
| 9. REMOVE MULTIPLE DISC CLUTCH HUB |
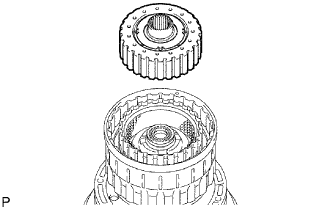 |
Remove the multiple disc clutch hub from the clutch drum assembly.
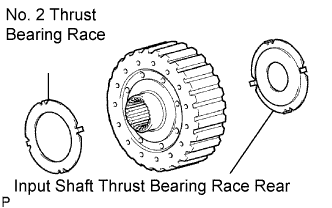 |
Remove the No. 2 thrust bearing race and input shaft thrust bearing race rear from the multiple disc clutch hub.
| 10. REMOVE INPUT SHAFT ASSEMBLY |
 |
Remove the thrust needle roller bearing from the clutch drum assembly.
 |
Remove the input shaft assembly from the clutch drum assembly.
| 11. REMOVE INPUT SHAFT OIL SEAL RING |
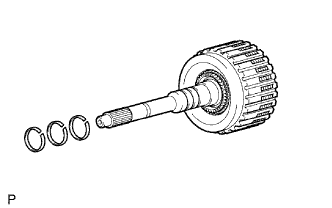 |
Remove the 3 oil seal rings from the input shaft assembly.
| 12. REMOVE FORWARD MULTIPLE DISC CLUTCH DISC |
 |
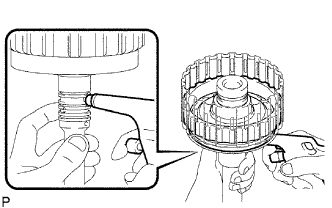
Using a screwdriver, remove the hole snap ring
 |
Remove the 2 flanges, 6 discs and 5 plates from the input shaft assembly.
| 13. INSPECT FORWARD MULTIPLE DISC CLUTCH DISC |
|
Replace all discs if one of the following problems is present: 1) a disc, plate or flange is worn or burnt, 2) the lining of a disc is peeled off or discolored, or 3) grooves or printed numbers have even a little bit of damage.
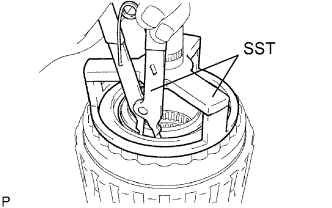
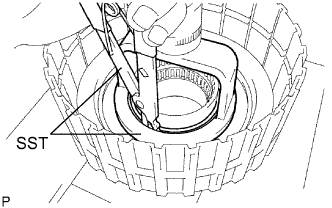
| 14. REMOVE NO. 1 CLUTCH BALANCER |
 |
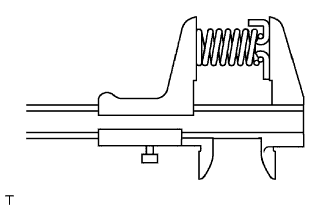
Place SST on the No. 1 clutch balancer, and compress the return spring with a press.
 |
Remove the No. 1 clutch balancer and forward clutch return spring from the input shaft assembly.
 |
Remove the O-ring from the No. 1 clutch balancer.
| 15. INSPECT FORWARD CLUTCH RETURN SPRING SUB-ASSEMBLY |
 |
Using a vernier caliper, measure the free length of the spring together with the spring seat.
| 16. REMOVE FORWARD CLUTCH PISTON |
 |
Holding the forward clutch piston by hand, apply compressed air (392 kPa, 4.0 kgf/cm2, 57 psi) to the input shaft to remove the forward clutch piston.
 |
Remove the 2 O-rings from the forward clutch piston.
| 17. REMOVE REVERSE CLUTCH FLANGE |
 |
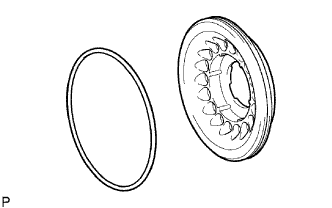
Remove the reverse clutch flange from the clutch drum assembly.
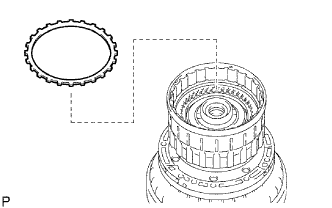
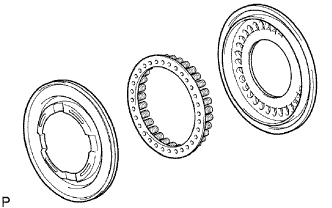
| 18. REMOVE DIRECT CLUTCH DISK |
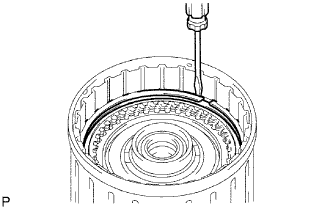 |
Using a screwdriver, remove the 2 hole snap rings from the clutch drum assembly.
 |
Remove the reverse clutch flange, 6 plates and 5 discs from the clutch drum assembly.
| 19. INSPECT DIRECT CLUTCH DISK |
| 20. REMOVE NO. 3 CLUTCH BALANCER |
 |
Place SST on the No. 3 clutch balancer, and compress the return spring with a press.
| 21. REMOVE REVERSE CLUTCH RETURN SPRING SUB-ASSEMBLY |
 |
Remove the reverse clutch return spring and O-ring from the reverse clutch piston.
| 22. INSPECT REVERSE CLUTCH RETURN SPRING SUB-ASSEMBLY |
|
Using a vernier caliper, measure the free length of the spring together with the spring seat.
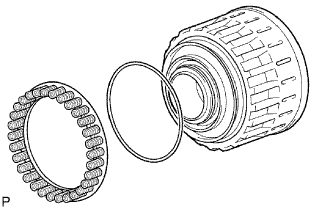
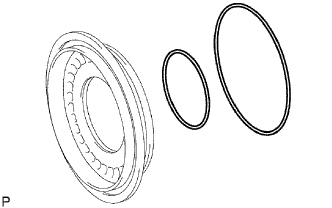
| 23. REMOVE REVERSE CLUTCH PISTON SUB-ASSEMBLY |
 |
Remove the reverse clutch piston, sub-assembly from the clutch drum sub-assembly.
 |
Remove the O-ring from the reverse clutch piston sub-assembly.
 |
Remove the O-ring from the clutch drum sub-assembly.
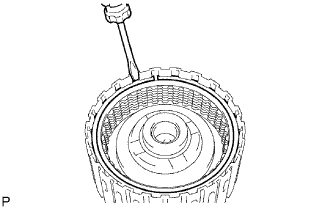
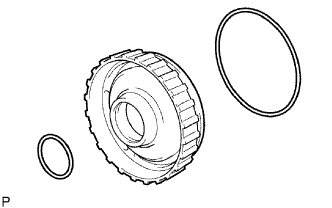
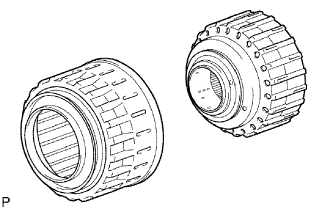
| 24. REMOVE DIRECT CLUTCH PISTON SUB-ASSEMBLY |
 |
Place SST on the direct clutch piston, and compress the return spring with a press.
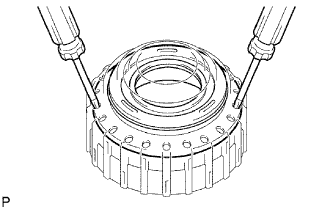 |
Using 2 screwdrivers, remove the direct clutch piston sub-assembly from the clutch drum.
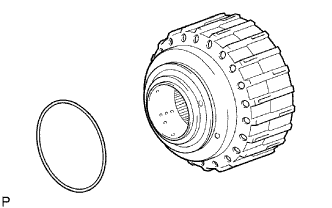 |
Remove the O-ring from the clutch drum.
 |
Remove the No. 2 clutch balancer and direct clutch return spring sub-assembly from the direct clutch piston sub-assembly.
 |
Remove the 2 O-rings from the direct clutch piston sub-assembly.
| 25. INSPECT DIRECT CLUTCH RETURN SPRING SUB-ASSEMBLY |
|
Using a vernier caliper, measure the free length of the spring together with the spring seat.
