AIR CONDITIONING UNIT > REASSEMBLY |
| 1. INSTALL EVAPORATOR TEMPERATURE SENSOR (w/ Air Conditioning) |
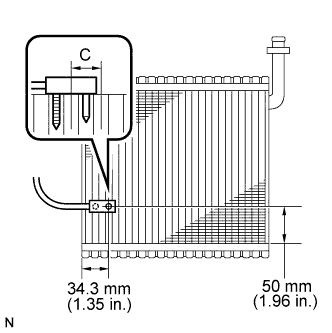 |
Insert the evaporator temperature sensor as shown in the illustration.
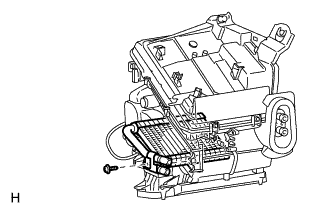
| 2. INSTALL NO.1 COOLER EVAPORATOR SUB-ASSEMBLY (w/ Air Conditioning) |
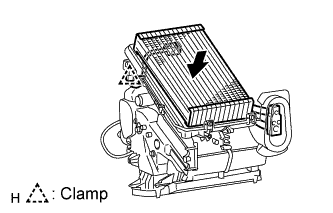 |
Install the cooler evaporator on the case.
Attach the temperature sensor clamp.
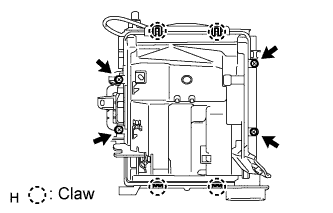 |
Attach the 4 claws to install the cover.
Install the cover with the 4 screws.
| 3. INSTALL COOLER EXPANSION VALVE (w/ Air Conditioning) |
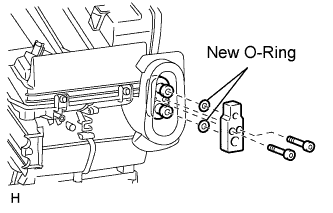 |
Sufficiently apply compressor oil to 2 new O-rings and the fitting surface of the hose joint.
Install the 2 O-rings to the cooler evaporator.
Install the cooler expansion valve.
Using a 4 mm hexagon wrench, install the A/C tube with the 2 hexagon bolts.
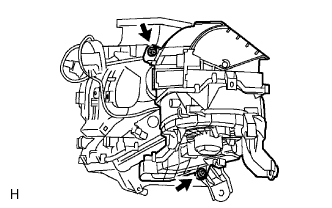
| 4. INSTALL HEATER RADIATOR UNIT SUB-ASSEMBLY |
 |
Install the heater radiator with the screw.
Attach the evaporator case to the blower case.
| 5. INSTALL MODE CONTROL CABLE SUB-ASSEMBLY |
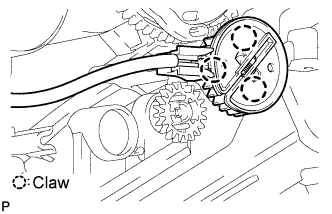 |
Attach the 3 claws to install the cable.
| 6. INSTALL AIR MIX DAMPER CONTROL CABLE SUB-ASSEMBLY |
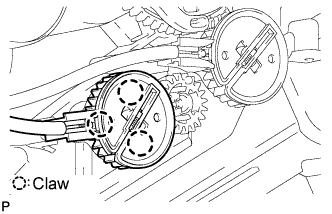 |
Attach the 3 claws to install the cable.
Attach the evaporator case to the blower case.
 |
Install the cable with the 2 screws.
| 7. INSTALL QUICK HEATER AND ACCESSORY ASSEMBLY (w/ PTC Heater) |
 |
Install the quick heater with the 2 screws.
Attach the 2 clamps.
