FRONT BRAKE (for 4WD) > INSTALLATION |
| 1. INSTALL DISC BRAKE CYLINDER ASSEMBLY LH |
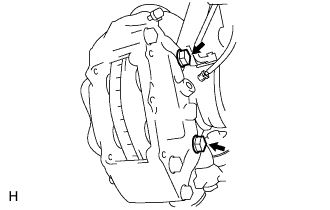 |
Install the cylinder with the 2 bolts.
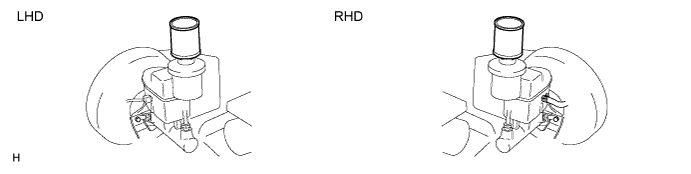
| 2. CONNECT FRONT NO. 1 WHEEL CYLINDER TUBE LH |
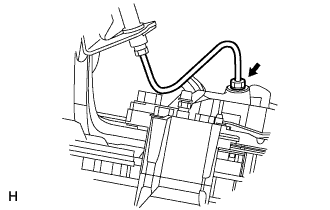 |
Using SST, connect the tube to the cylinder.
| 3. INSTALL FRONT ANTI SQUEAL SHIM KIT |
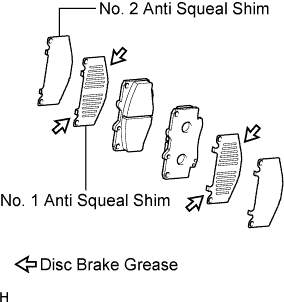 |
Apply disc brake grease to both sides of each No. 1 shim.
Install the No. 1 and No. 2 shims to each pad.
| 4. INSTALL FRONT DISC BRAKE PAD |
Install the 2 disc brake pads to the cylinder.
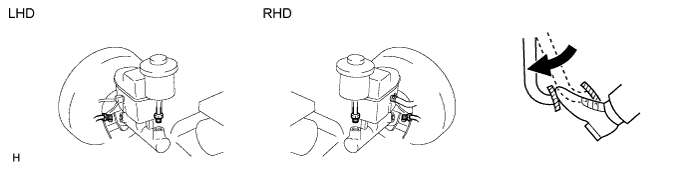
| 5. INSTALL FRONT DISC BRAKE ANTI-RATTLE SPRING |
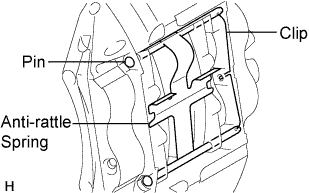 |
Install the spring.
Hold down the spring and insert the 2 pins.
Install the clip.
| 6. FILL RESERVOIR WITH BRAKE FLUID |
| 7. BLEED AIR FROM MASTER CYLINDER |
Using SST, disconnect the 2 brake lines from the master cylinder.
Slowly depress and hold the brake pedal.
Cover the outer holes with your finger, and release the pedal.
Repeat the 2 previous steps 3 or 4 times.
Using SST, connect the 2 brake lines to the master cylinder.

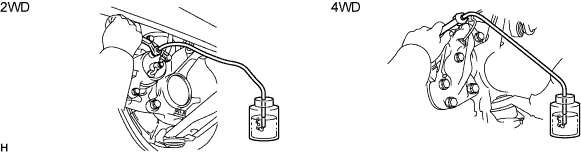
| 8. BLEED AIR FROM BRAKE LINE |
Remove the bleeder plug cap.
Connect the vinyl tube to the bleeder plugs.
Depress the pedal several times, and then loosen the bleeder plug with the pedal depressed.
When fluid stops coming out, immediately tighten the bleeder plug. Then release the pedal.
Repeat the 2 previous steps until all the air in the brake fluid is gone.
Tighten the bleeder plug.
Install the cap.
Bleed air from the brake line for each wheel by repeating the above procedures.
| 9. BLEED AIR FROM CLUTCH LINE (M/T) |
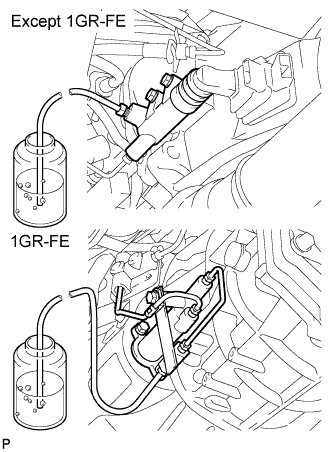 |
Remove the bleeder plug cap.
Connect the vinyl tube to the bleeder plug.
Depress the clutch pedal several times, and then loosen the bleeder plug with the pedal depressed.
At the point when fluid stops coming out, tighten the bleeder plug, and then release the clutch pedal.
Repeat the previous 2 steps until all the air in the fluid is completely bled out.
Tighten the bleeder plug.
Install the bleeder plug cap.
Check that all the air has been bled out of the clutch line.
| 10. CHECK BRAKE FLUID LEVEL IN RESERVOIR |
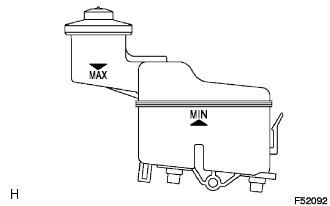 |
Check the fluid level and add fluid if necessary.
| 11. CHECK FOR BRAKE FLUID LEAKAGE |
| 12. INSTALL FRONT WHEEL |
