FRONT SUSPENSION LOWER ARM (for 2WD) > REMOVAL |
| 1. REMOVE FRONT WHEEL |
| 2. INSPECT FRONT SUSPENSION ARM SUB-ASSEMBLY LOWER LH |
 |
Install the hub nuts to the disc.
Using a dial indicator, measure the lower ball joint for excessive play when you push the hub nuts up and down with a force of 294 N (30 kgf, 66 lbf).
| 3. DISCONNECT FRONT SHOCK ABSORBER WITH COIL SPRING |
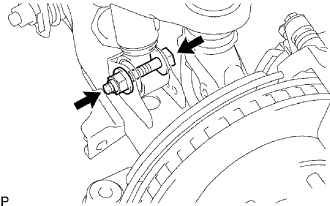 |
Remove the nut and bolt.
Disconnect the shock absorber with coil spring from the lower arm.
| 4. REMOVE FRONT SUSPENSION ARM SUB-ASSEMBLY LOWER LH |
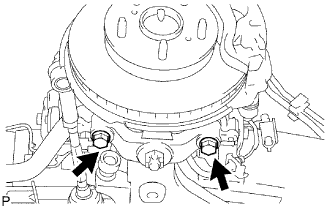 |
Remove the 2 bolts, and disconnect the ball joint attachment from the steering knuckle.
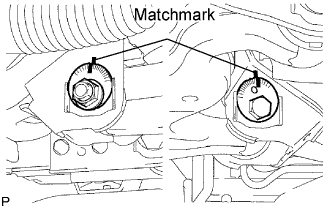 |
Place matchmarks on the No. 1 camber adjusting cam and vehicle frame.
Remove the 2 nuts, No. 1 and No. 2 camber adjusting cams, 2 camber adjusting cams and lower arm.
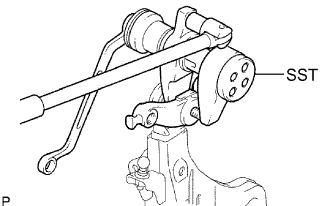 |
Remove the cotter pin and nut.
Using SST, remove the ball joint attachment.
