FRONT SEAT ASSEMBLY (for Bench Seat Type) > REASSEMBLY |
| 1. INSTALL FRONT SEAT CUSHION COVER |
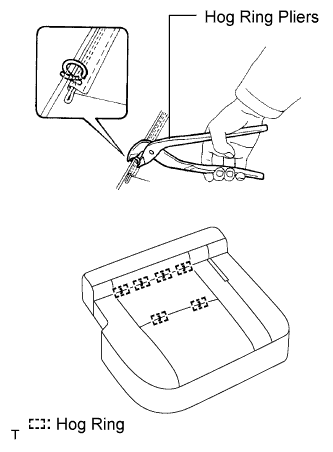 |
Using hog ring pliers, install the seat cushion cover to the seat cushion pad with 6 new hog rings.
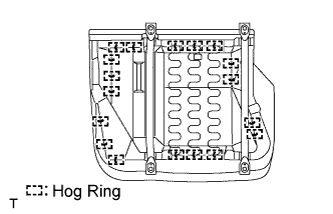 |
Using hog ring pliers, install the seat cushion cover (with pad) to the seat cushion frame with 18 new hog rings.
w/ Occupant detection sensor:
Attach the sensor clamp.
| 2. INSTALL FRONT SEATBACK COVER |
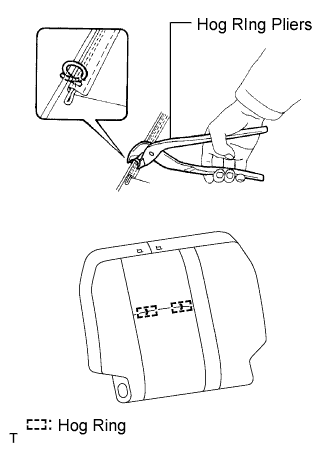 |
Using hog ring pliers, install the seatback cover to the seatback pad with 2 new hog rings.
Install the seatback cover (with pad) to the seatback frame.
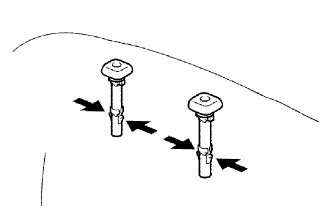 |
Attach the 4 claws to install the 2 headrest supports.
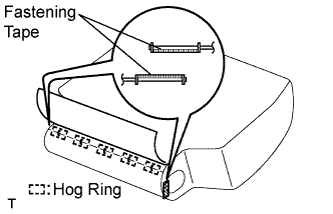 |
Using hog ring pliers, install 5 new hog rings.
Close the fastening tapes.
| 3. INSTALL FRONT SEATBACK ASSEMBLY |
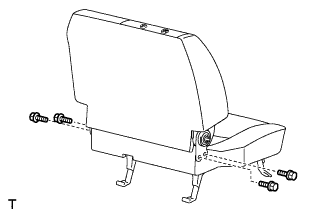 |
Install the seatback with the 4 bolts.
| 4. INSTALL FRONT SEAT CUSHION SHIELD INNER RH |
 |
Attach the 2 claws and install the cushion shield with the screw.
| 5. INSTALL FRONT SEAT CUSHION SHIELD RH |
| 6. INSTALL RECLINING ADJUSTER RELEASE HANDLE RH |
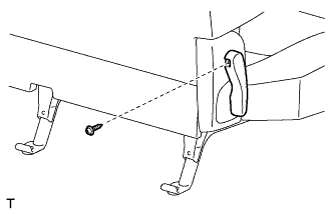 |
Install the release handle with the screw.
