Manual Transmission Removal
NOTE: Use fender covers to avoid damaging painted surfaces.
| 1. | Write down the frequencies for the radio's preset buttons. Disconnect the negative (-) cable first, then the positive (+) cable from the battery. Remove the battery.
|
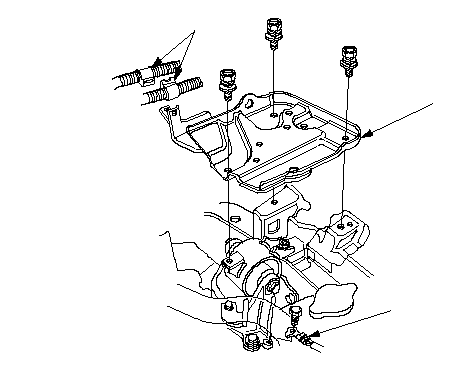
| 3. | Remove the harness clips (A), ground cable (B) and the battery tray (C).
 ACB ACB |
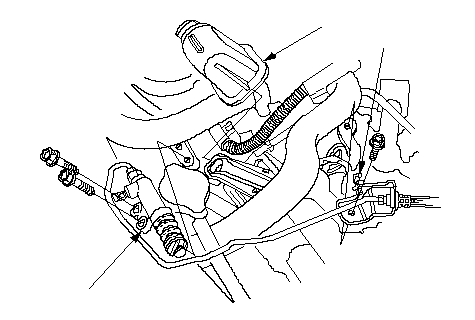
| 4. | Carefully remove the slave cylinder so as not to bend the clutch line. Do not operate the clutch pedal once the slave cylinder (A), boot (B) and clip (C) have been removed.
 ABC ABC |
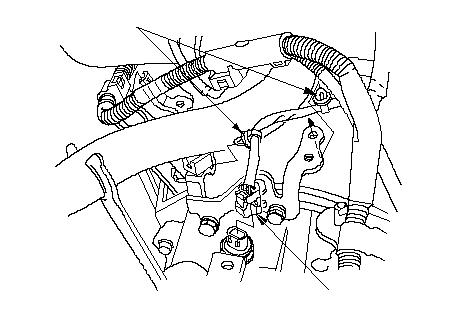
| 5. | Disconnect the back-up light switch connector (A), then remove the harness clips (B).
 BA BA |
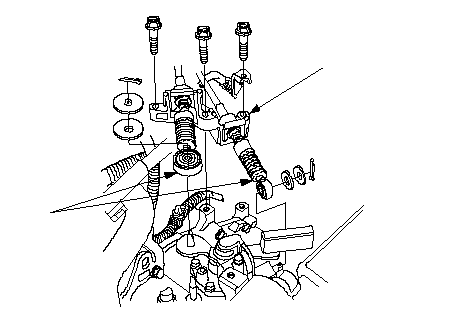
| 6. | First remove the cable bracket (A), then disconnect the cables (B) from the top of the transmission housing. Carefully remove both cables and the bracket together so as not to bend the cables.
 AB AB |
| 7. | Disconnect the vehicle speed sensor (VSS) connector (A), then remove the oxygen sensor clip (B).
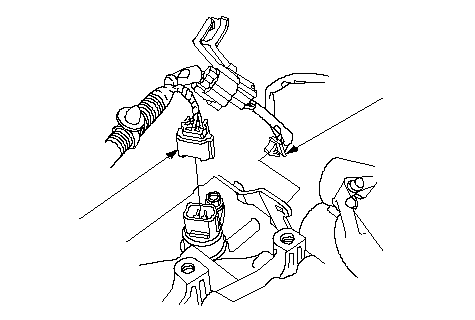 AB AB |
| 8. | Attach the chain hoist (A) to the air cleaner stay (B) with the 8 x 1.25 mm bolt (C).
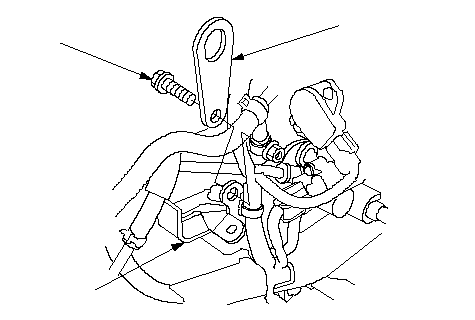 BCA BCA |
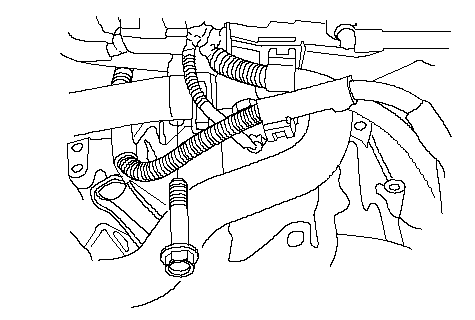
| 9. | Remove the one upper transmission mounting bolt.
|
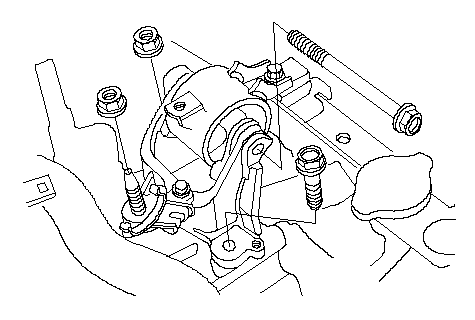
| 10. | Remove the transmission mount bracket.
|
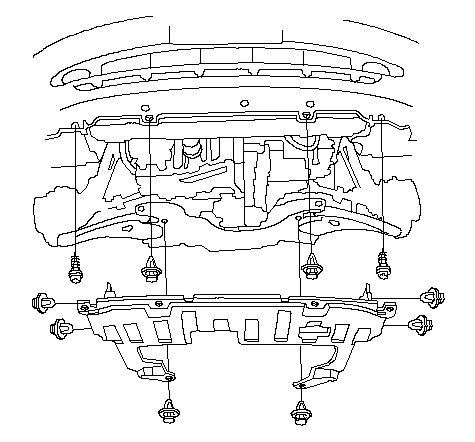
| 11. | Remove the splash shield.
|
| 12. | Remove the spindle nuts (A), then push the driveshafts (B) inside.
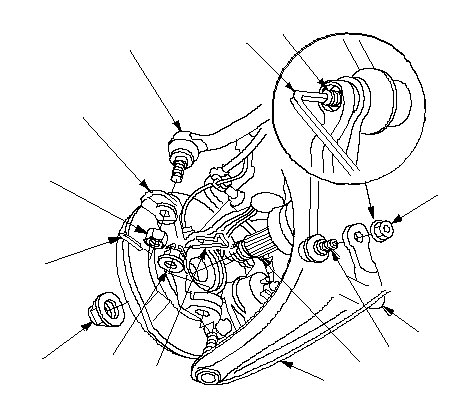 ECNKMLAIHJBFGD ECNKMLAIHJBFGD
|
| 13. | Insert a 5 mm Allen wrench (C) in the top of the ball joint pins (D), and remove the nuts (E), then separate the stabilizer links (F) from the stabilizer (G).
|
| 14. | Remove the spring clips (H) and castle nuts (I), and separate the lower arms (J) from the knuckles (K).
|
| 15. | Remove the cotter pins (L), nuts (M) and ball joint (N) from the knuckles (K).
|
| 16. | Remove the bolts (A) and the hear cover (B).
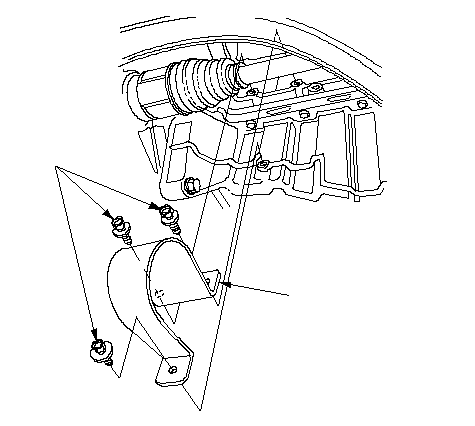 AB AB |
| 17. | Remove the driveshafts.
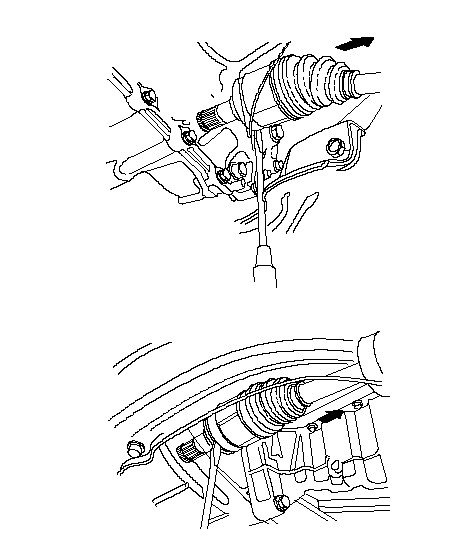 Left Driveshaft:Right Driveshaft: Left Driveshaft:Right Driveshaft: |
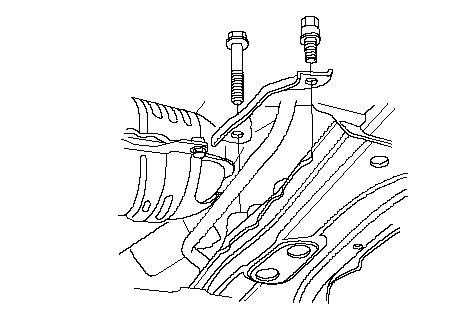
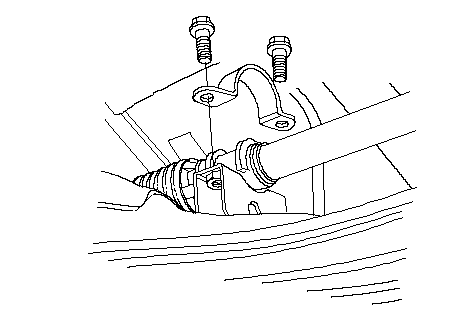
| 18. | Remove the two sub-frame stay bolts.
|
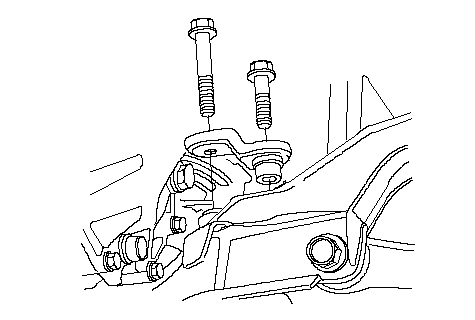
| 19. | Remove the two power steering gearbox bracket bolts.
|
| 20. | Remove the two power steering gearbox bracket bolts.
|
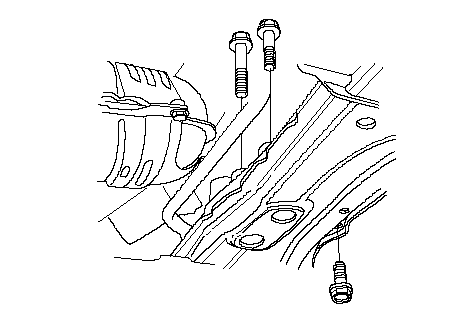
| 21. | Remove the three rear transmission mount bracket bolts.
|
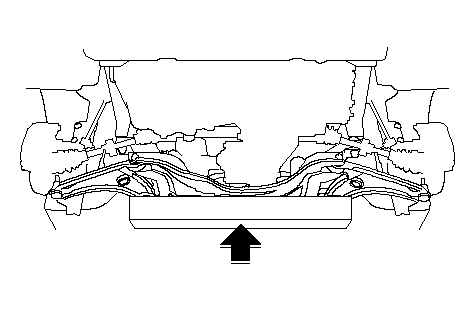
| 22. | Support the front sub-frame with a 4 x 4 x 40 in. piece of wood and a jack.
|
| 23. | Remove the front sub-frame mounting bolts (A) and the front sub-frame (B).
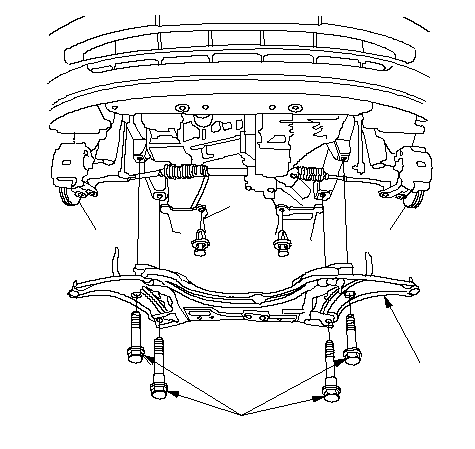 AB AB |
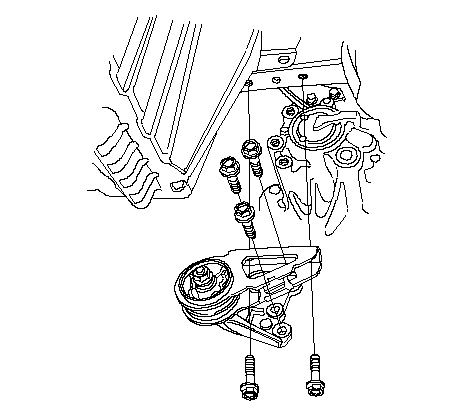
| 24. | Remove the rear transmission mount (A) and the rear transmission mount bracket (B).
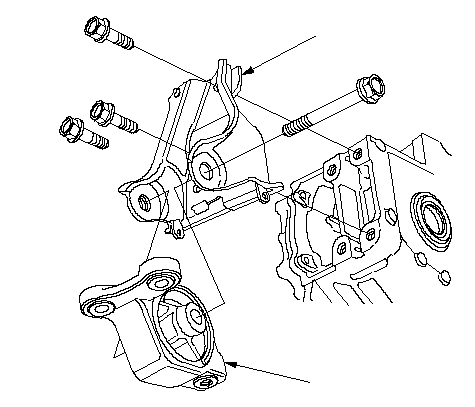 BA BA |
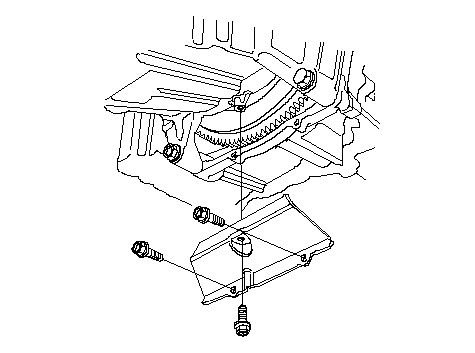
| 25. | Remove the clutch cover.
|
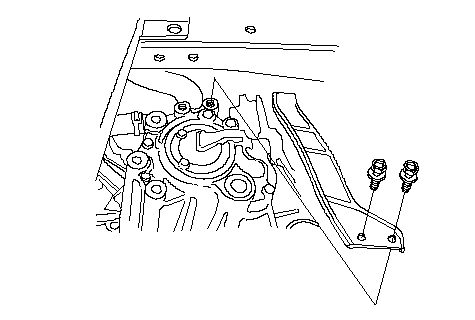
| 26. | Remove the front transmission mount.
|
| 27. | Remove the air cleaner stay.
|
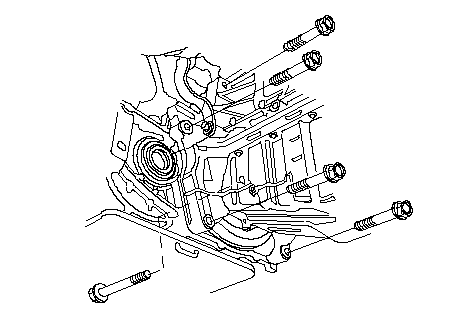
| 28. | Place the transmission jack under the transmission, and remove the lower transmission mounting bolts.
|
| 29. | Pull the transmission away from the engine until the transmission mainshaft clears the clutch pressure plate, then lower transmission on the transmission jack.
|
| 30. | Remove the release fork (A) and the release bearing (B) from the transmission (C).
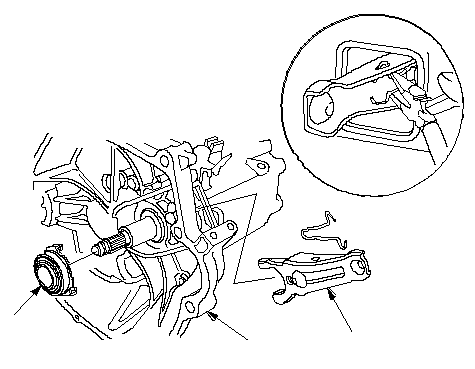 BCA BCA |