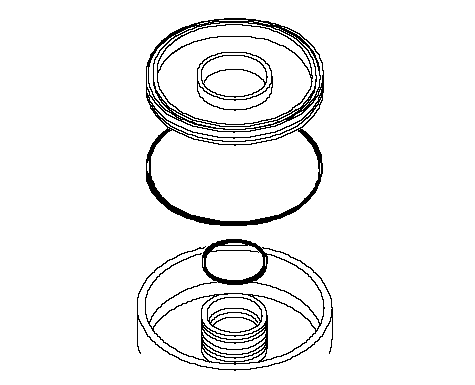
A/T Clutch Disassembly
Special Tools Required
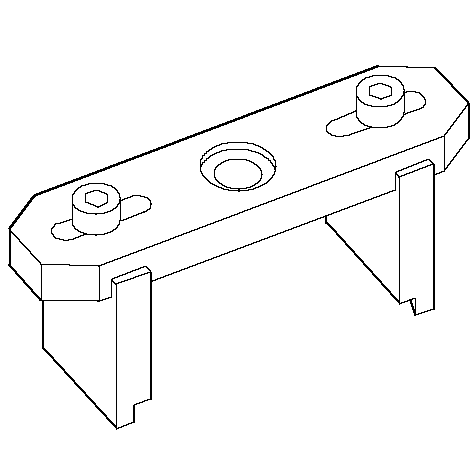
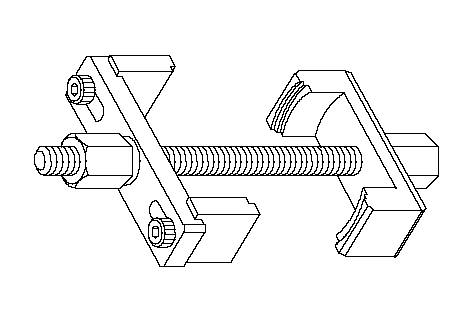
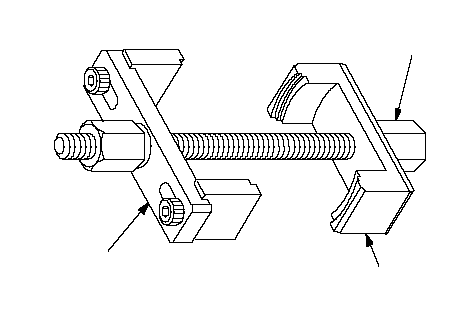
Clutch spring compressor set ( 07LAE-PX40000)
 (9)-3(9)-1(9)-2
Clutch spring compressor attachment ( 07LAE-PX40100)
Clutch spring compressor attachment ( 07HAE-PL50101)
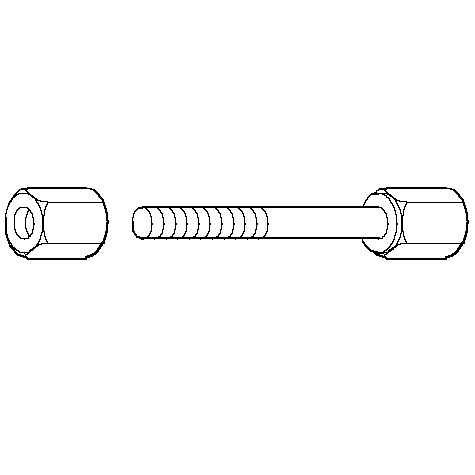
Clutch spring compressor bolt assembly ( 07GAE-PG40200)
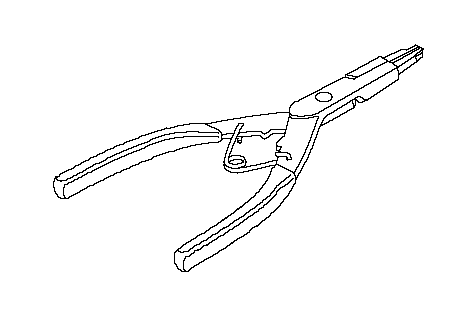
Snap ring pliers ( 07LGC-0010100)
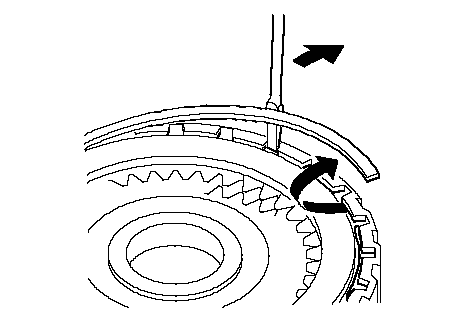
| 1. | Remove the snap ring with a screwdriver.
|
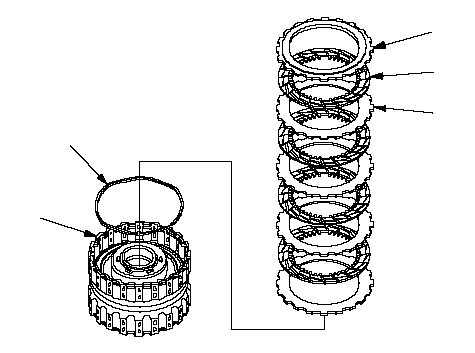
| 2. | For K20A6 Engine model 1st Clutch:
Remove the clutch end plate (A), clutch discs (B) (4), clutch waved-plates (C) (4), and waved spring (D) from the clutch drum (E).
 BACED BACED |
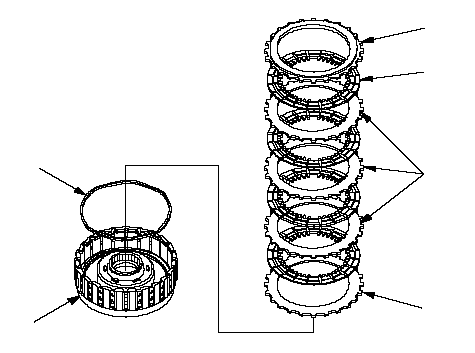
| 3. | For K20A6 Engine model 2nd Clutch:
Remove the clutch end plate (A), clutch discs (B) (4), clutch waved-plates (C) (3), clutch flat-plate (D), and waved spring (E) from the clutch drum (F).
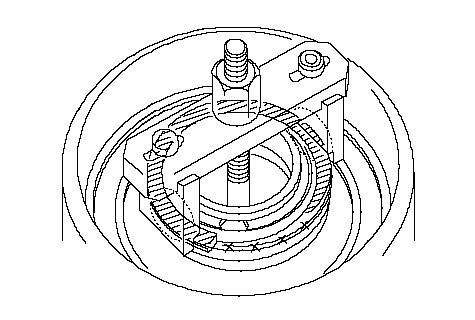
 BACFED BACFED |
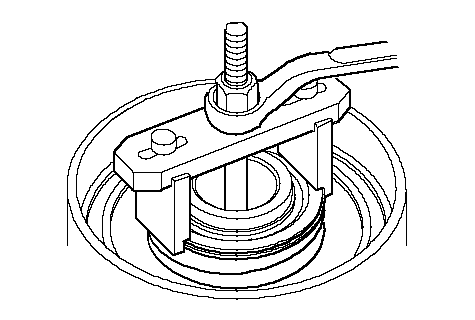
| 4. | Make a reference mark on the clutch flat-plate (D).
|
| 5. | For K20A6 Engine model 3rd Clutch:
Remove the clutch end plate (A), clutch discs (B) (4), clutch waved-plates (C) (3), clutch flat-plate (D), and waved spring (E) from the clutch drum (F).
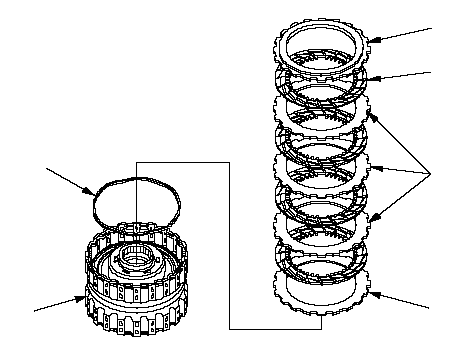 BACFED BACFED |
| 6. | Make a reference mark on the clutch flat-plate (D).
|
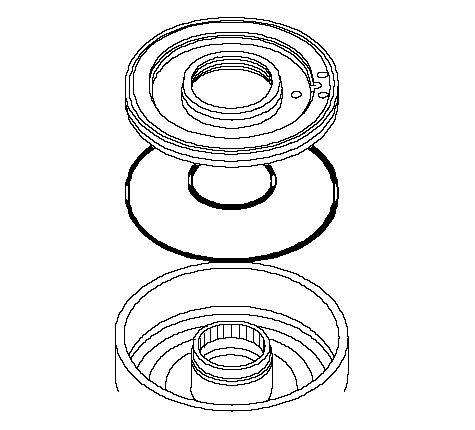
| 7. | For K20A6 Engine model 4th Clutch:
Remove the clutch end plate (A), clutch discs (B) (3), clutch waved-plates (C) (3), and waved spring (D) from the clutch drum (E).
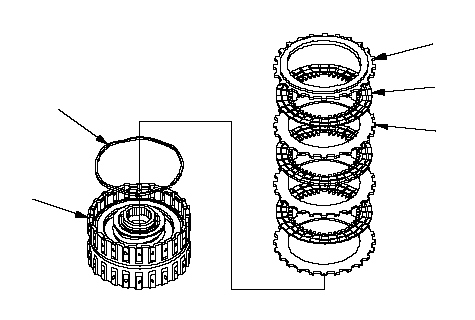 BACED BACED |
| 8. | For K20A6 Engine model 5th Clutch:
Remove the clutch end plate (A), clutch discs (B) (3), clutch waved-plates (C) (3), and waved spring (D) from the clutch drum (E).
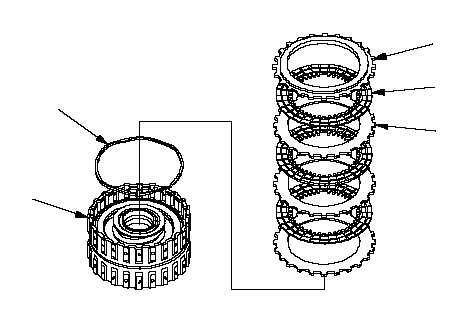 BACED BACED |
| 9. | For K24A3 Engine model 1st Clutch:
Remove the clutch end plate (A), clutch discs (B) (5), clutch flat-pates (C) (5), and waved spring (D) from the clutch drum (E).
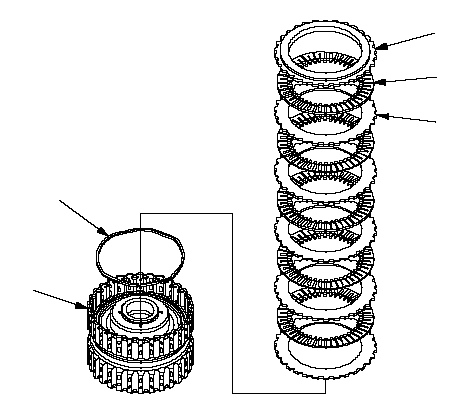 BACED BACED |
| 10. | For K24A3 Engine model 2nd Clutch:
Remove the clutch end plate (A), clutch discs (B) (5), clutch waved-pates (C) (3), 2.0 mm-thick flat plate (D), 4.0 mm-thick plate (E), and waved spring (F) from the clutch drum (G).
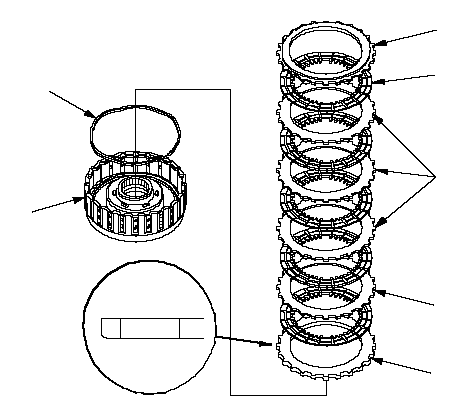 BACGEDF BACGEDF |
| 11. | Make a reference mark on 2.0 mm-thick flat-plate (D).
|
| 12. | For K24A3 Engine model 3rd Clutch:
Remove the clutch end plate (A), clutch discs (B) (5), clutch flat-plates (C) (5), and waved spring (D) from the clutch drum (E).
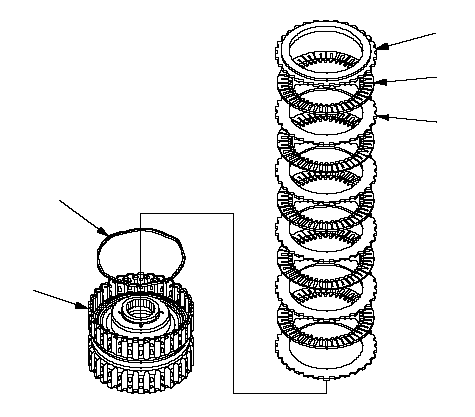 BACED BACED |
| 13. | For K24A3 Engine model 4th Clutch:
Remove the clutch end plate (A), clutch discs (B) (4), clutch waved-plates (C) (4), and waved spring (D) from the clutch drum (E).
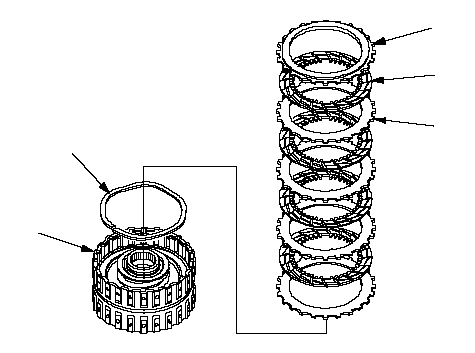 BACED BACED |
| 14. | For K24A3 Engine model 5th Clutch:
Remove the clutch end plate (A), clutch discs (B) (4), clutch waved-plates (C) (4), and waved spring (D) from the clutch drum (E).
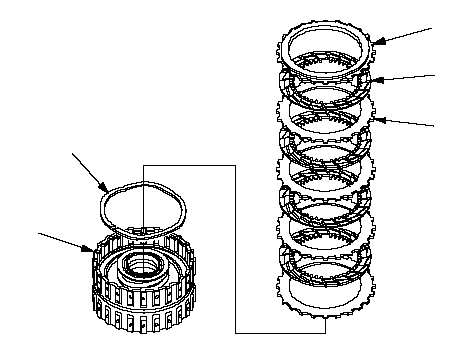 BACED BACED |
| 15. | Install the special tools.
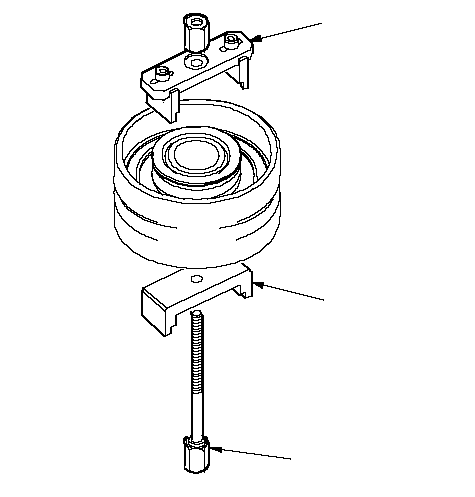 07LAE-PX4010007HAE-PL5010107GAE-PG40200 07LAE-PX4010007HAE-PL5010107GAE-PG40200 |
| 16. | Be sure the special tool (A) is adjusted to have full contact with the spring retainer (B) on the 4th and 5th clutches.
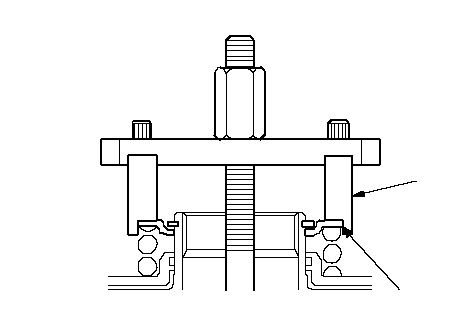 AB AB |
| 17. | Set the special tool (A) on the spring retainer (B) of the 1st, 2nd, and 3rd clutches in such a way that the special tool works on the clutch return spring (C).
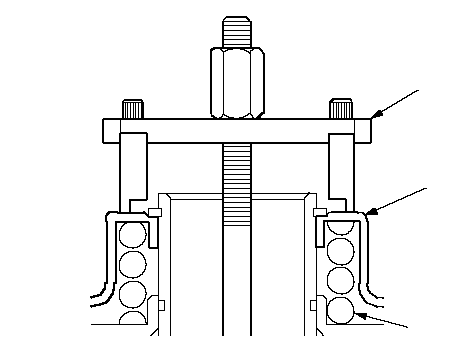 ABC ABC |
| 18. | If either end of the special tool is set over an area of the spring retainer which is unsupported by the return spring, the retainer may be damaged.
|
| 19. | Compress the return spring until the snap ring can be removed.
|
| 20. | Remove the snap ring with snap ring pliers.
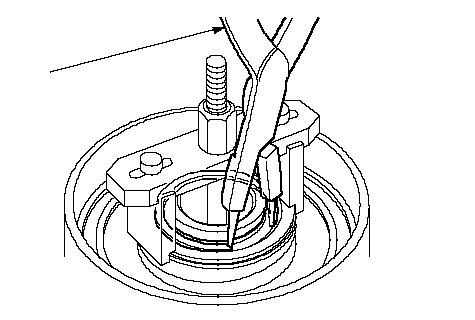 07LGC-0010100 07LGC-0010100 |
| 21. | Remove the special tools.
|
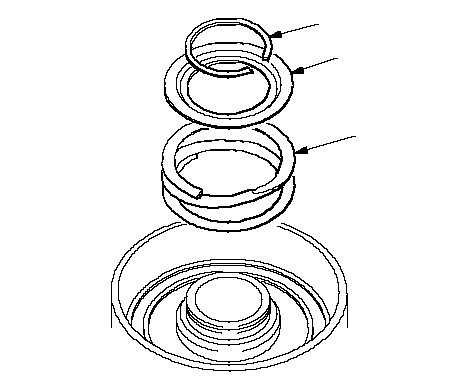
| 22. | Remove the snap ring (A), spring retainer (B), and return spring (C).
 ABC ABC |
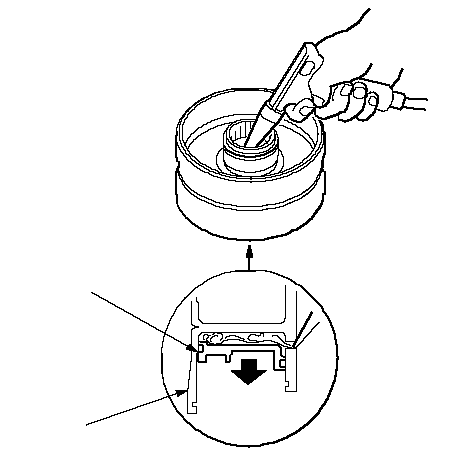
| 23. | Wrap a shop rag around the clutch drum (A), and apply air pressure to the fluid passage to remove the piston (B). Place a finger tip on the other passage while applying air pressure.
 AB AB |
| 24. | Remove the piston, then remove the O-rings from the 4th and 5th clutch pistons.
|
| 25. | Remove the piston, then remove the O-ring from the 1st, 2nd and 3rd clutch drum, and remove the O-ring from each clutch piston.
|