Clutch Master Cylinder Overhaul (M/T)
Clutch Master Cylinder Overhaul
Exploded View
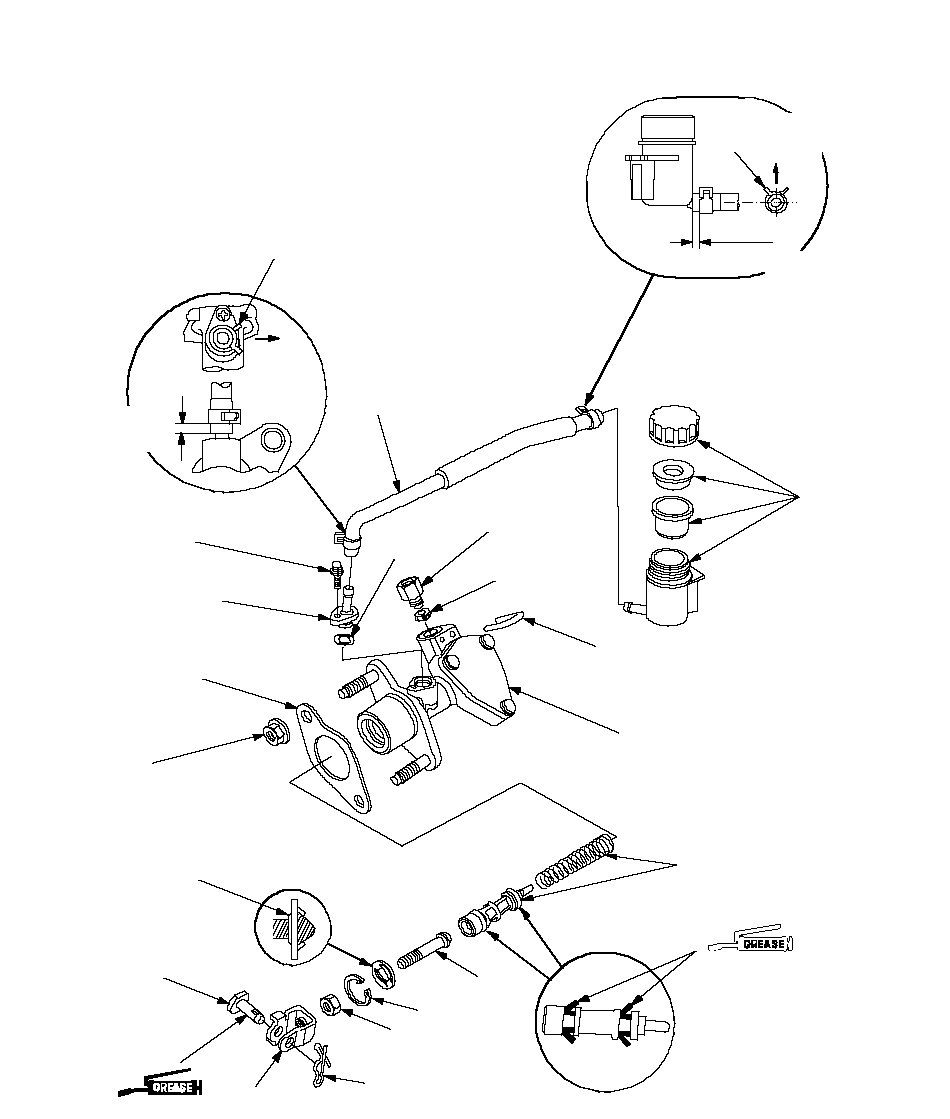 RESERVOIR HOSE
Inspect for damage, leaks,
interference, and twisting.RETAINING CLIP
Replace.RESERVOIR(Brake Assembly Lube)PUSH RODCIRCLIP18 N·m
(1.8 kgf·m, 13 lbf·ft)LOCK PIN
Replace.YOKEPEDAL PINSTOPPER
Check for damage
and bending.8 x 1.25 mm
13 N·m
(1.3 kgf·m, 9.4 lbf·ft)MASTER CYLINDER BODY
Check the cylinder wall
for scoring and wear.1.5 N·m
(0.15 kgf·m, 1.1 lbf·ft)O-RING
Replace.NOTE:O-RING
Replace.CLUTCH LINE
CONNECTORCONNECTORClip catches shall be
on arrow marked side.1-3 mm (0.04-0.12 in.)Clip catches shall be
on arrow marked side.CLUTCH MASTER
CYLINDER SEALWhen attaching the reservoir hose, align the yellow mark on the hose to the rib on reservoir connection area.··LHD type is shown, RHD type is similar.When attaching the reservoir hose, align the blue mark on the hose to rip on the clutch master cylinder connection area.·1-3 mm
(0.04-0.12 in.)PISTON ASSY
Check for scoring and wear.
- Refer to the Exploded View, as needed during this procedure.
- Do not spill brake fluid on the vehicle; it may damage the paint; if brake fluid does contact the paint, wash it off immediately with water.
- Clean all parts in brake fluid and air dry; blow out all passages with compressed air.
- Before reassembling, check that all part are free of dust and other foreign particles.
- Replace parts with new ones whenever specified to do so.
- Make sure no dirt or other foreign matter is allowed to contaminate the brake fluid.
- Do not mix different brands of brake fluid as they may not be compatible.
- Do not reuse the drained fluid. Use only clean DOT 3 or 4 brake fluid.
| 1. | Pry the circlip off the clutch master cylinder.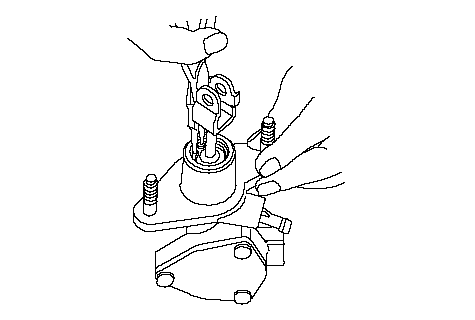 |
| 2. | Carefully remove the piston by applying air pressure through the clutch line hole.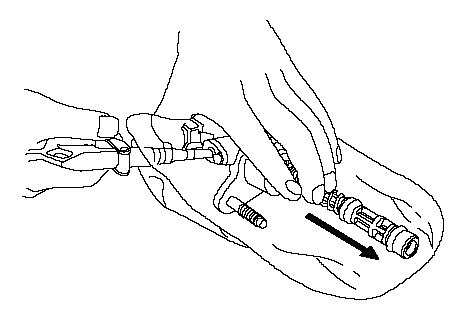 |
| 3. | Slide the piston assembly into the clutch master cylinder.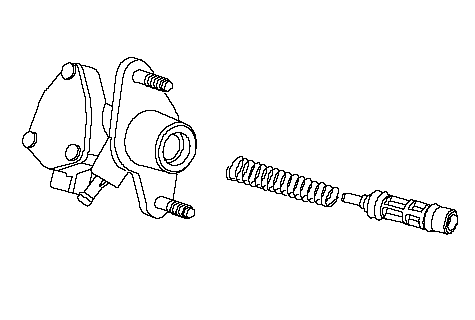 |
| 4. | Install the circlip in the groove of the clutch master cylinder. |