Starter Overhaul - MITSUBISHI
Starter Overhaul - MITSUBISHI
MITSUBISHI
Disassembly/Reassembly
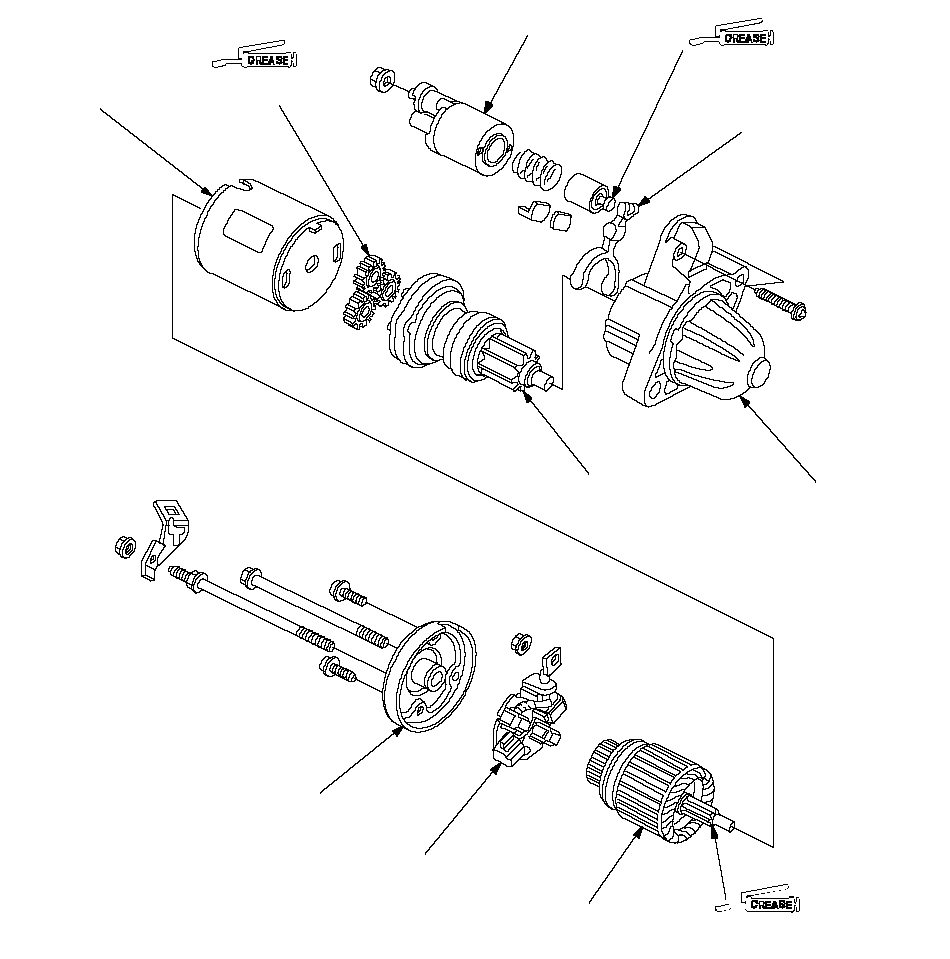 END COVERBRUSH
HOLDERARMATURE(Molybdenum
Disulfide)PLANETARY GEAR(Molybdenum
Disulfide)ARMATURE
HOUSINGSTARTER SOLENOID(Molybdenum
Disulfide)STARTER LEVERGEAR HOUSINGOVERRUNNING
CLUTCH ASSEMBLY
Brush Holder Removal
| 1. | Remove the starter. |
| 2. | Disconnect the wire from the M terminal, and remove the end cover. |
| 3. | Place a 29.4 mm (1.16 in.) outside diameter plastic pipe on the armature.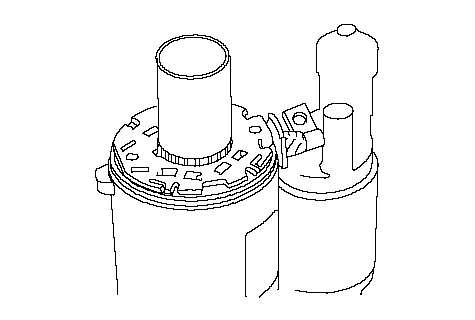 |
| 4. | Move the brush holder (A) up to the pipe (B) while holding the pipe so the brushes do not pop out from the holder.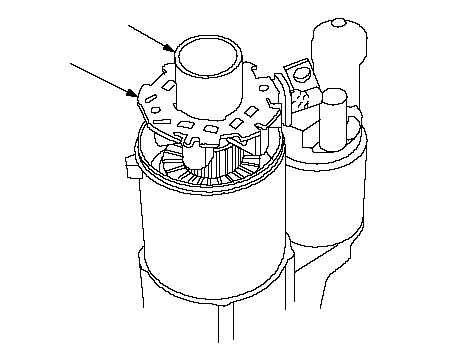 BA BA |
Armature Inspection and Test
| 5. | Disassemble the starter as shown at the beginning of this procedure. |
| 6. | Inspect the armature for wear or damage from contact with the permanent magnet. If there is wear or damage, replace the armature.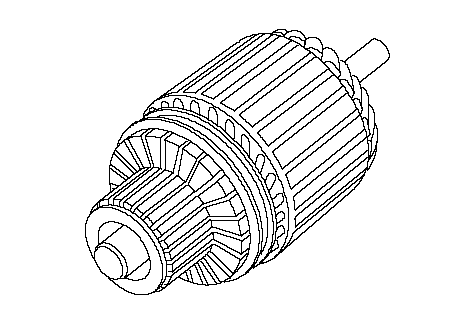 |
| 7. | Check the commutator (A) surface. If the surface is dirty or burnt, resurface with emery cloth or a lathe within the following specifications, or recondition with #500 or #600 sandpaper (B).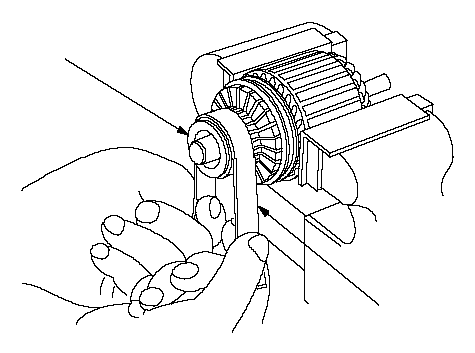 BA BA |
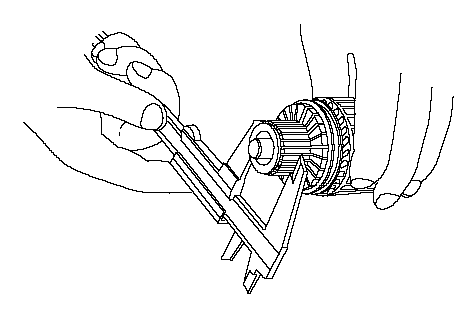
| 8. | Check the commutator diameter. If the diameter is bellow the service limit, replace the armature.
 | ||||||
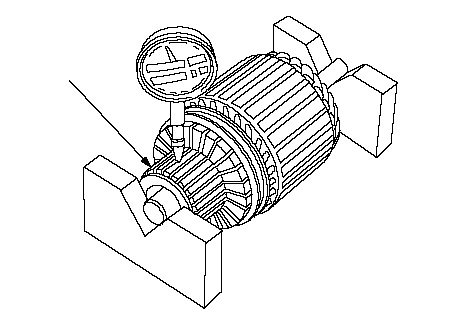
| 9. | Measure the commutator (A) runout.
 A A | ||||||
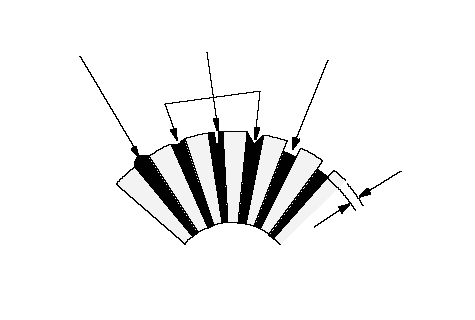
| 10. | Check the mica depth (A). If the mica is too high (B), undercut the mica with a hacksaw blade to the proper depth. Cut away all the mica (C) between the commutator segments. The undercut should not be too shallow, too narrow, or V-shaped (D).
 ABCD ABCD | ||||||
| 11. | Check for continuity between the segments of the commutator. If an open circuit exists between any segments, replace the armataure.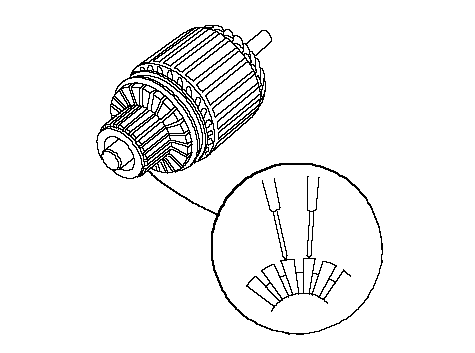 |
| 12. | Place the armature (A) on an armature tester (B). Hold a hacksaw blade (C) on the armature core. If the blade is attached to the core or vibrates while the core is turned, the armature is shorted. Replace the armature.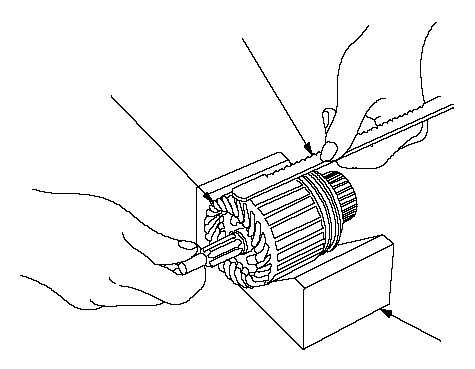 BCA BCA |
| 13. | Check with an ohmmeter that no continuity exists between the commutator (A) and armature coil core (B), and between the commutator and armature shaft (C). If continuity exists, replace the armature.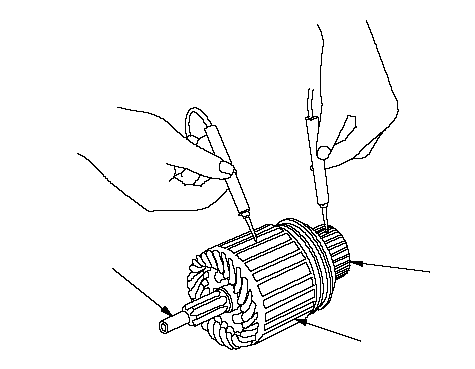 ABC ABC |
Starter Brush Inspection
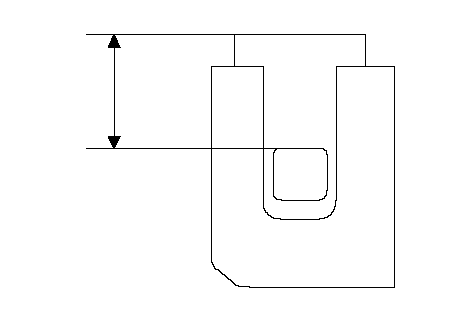
| 14. | Measure the brush length (A). If it is shorter than the service limit, replace the brush holder assembly.
 A A | ||||||
Starter Brush Holder Test
| 15. | Check that there is no continuity between the (+) brush (A) and (-) brush (B). If there is continuity, replace the brush holder assembly.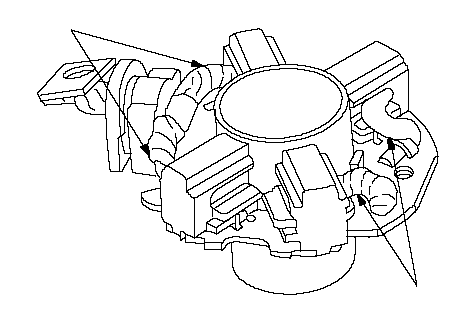 BA BA |
Planetary Gear Inspection
| 16. | Check the planetary gears (A) and ring gear (B). Replace the them if they are worn or damaged.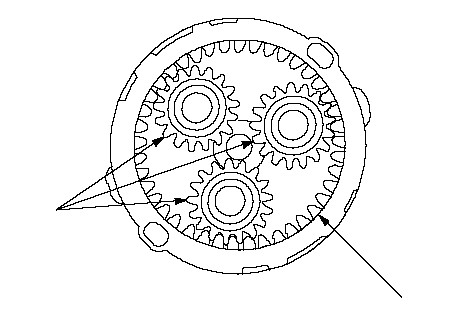 AB AB |
Overrunning Clutch Inspection
| 17. | Slide the overrunning clutch along the shaft.Replace it, if it does not slide smoothly. |
| 18. | Rotate the overrunning clutch (A) both ways. Does it lock in one direction and rotate smoothly in reverse? If it does not lock in either direction or it locks in both directions, replace it.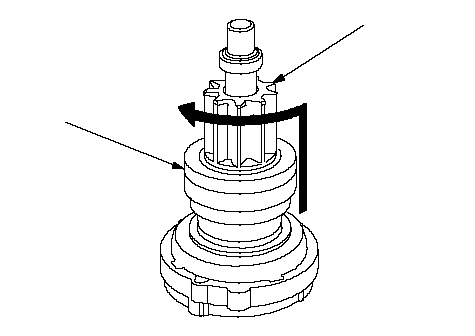 BA BA |
| 19. | If the starter drive gear (B) is worn or damaged, replace the overrunning clutch assembly; the gear is not available separately. Check the condition of the flywheel ring gear to see, if the starter drive gear teeth are damaged. |
Starter Reassembly
| 20. | Install the armature into the housing. |
| 21. | Place the brush holder assembly on the armature, then move the brush holder (A) down to the armature.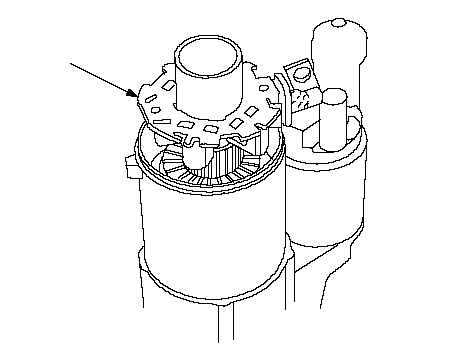 A A |
| 22. | Install the end cover to retain the brush holder.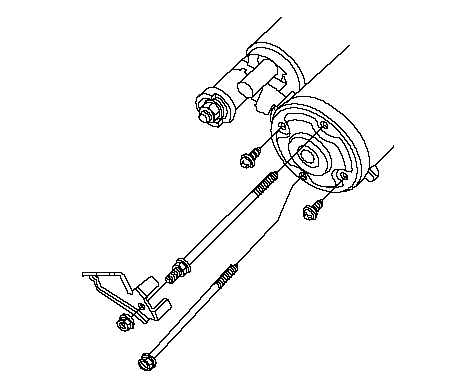 |