Crankshaft and Piston Removal

  1. Remove the transmission:
  1. Remove the crankshaft position (CKP) sensor cover (A), then disconnect the CKP sensor connector (B).

  1. Remove the heat shield.

  1. Remove the 8 mm bolts.

  1. Remove the bearing cap bolts. To prevent warpage, loosen the bolts in sequence 1/3 turn at a time; repeat the sequence until all bolts are loosened.

  1. Using a flat blade screwdriver, separate the lower block from the engine block in the places shown.
  1. Remove the lower block and the bearings. Keep all bearings in order.
  1. Remove the rod caps/bearings. Keep all the caps/ bearings in order.

  1. Lift the crankshaft (A) out of the engine, being careful not to damage the journals and the CKP pulse plate (B).
  1. Remove the CKP pulse plate.
  1. Remove the thrust washers (C).
  1. Remove the upper bearing halves from the connecting rods, and set them aside with their respective caps.

  1. If you can feel a ridge of metal or hard carbon around the top of each cylinder, remove it with a ridge reamer (A). Follow the reamer manufacturer's instructions. If the ridge is not removed, it may damage the pistons as they are pushed out.

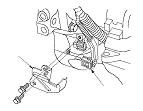
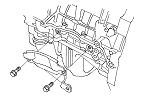
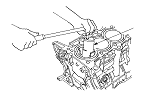
  1. Use the wooden handle of a hammer (A) to drive out the piston/connecting rod assembly (B). Take care not to damage the oil jets or cylinder with the connecting rod.
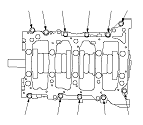
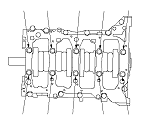
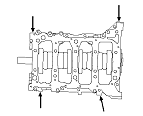
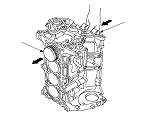
  1. Reinstall the lower block and the bearings on the engine in the proper order.
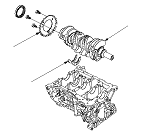
  1. Reinstall the connecting rod bearings and the caps after removing each piston/connecting rod assembly.
  1. To avoid mixup on reassembly, mark each piston/ connecting rod assembly with its cylinder number.
    NOTE: The existing number on the connecting rod does not indicate its position in the engine, it indicates the rod bore size.