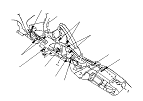
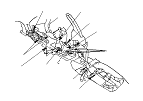
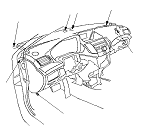
Dashboard/Steering Hanger Beam Removal/Installation
|
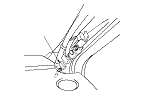
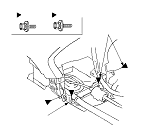
SRS components are located in this area.
Review the SRS component locations
and
the precautions and procedures
before doing repairs or service.
NOTE:
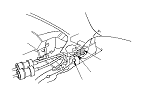
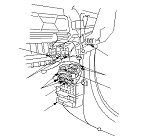
Driver's side
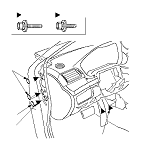
|
LHD model
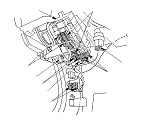
RHD model
|
|
|
|
|
|
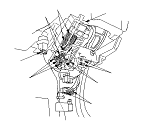
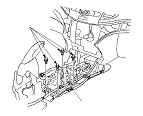
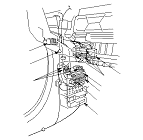
Passenger's side
|
|
|
|
|
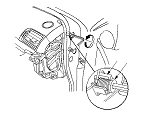
|
|
|
|
|
|
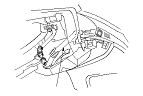
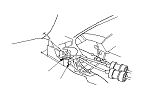
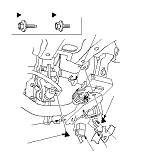
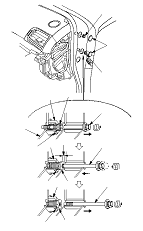
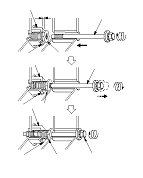
Special bolt tightening on passenger's side
|