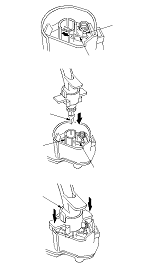
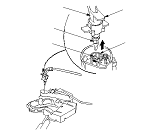
Front Door Latch Replacement
|
Without Super Locking
NOTE: Put on gloves to protect your hands.
|
|
|
|
|
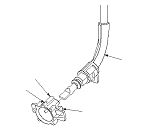
With Super Locking
NOTE: Put on gloves to protect your hands.
|
|
|
|
|
|
|
|
|
|
|
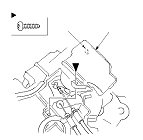
Without Super Locking
NOTE: Put on gloves to protect your hands.
|
|
|
|
|
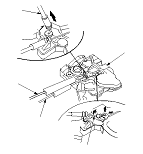
With Super Locking
NOTE: Put on gloves to protect your hands.
|
|
|
|
|
|
|
|
|
|